Electronic Flying Wing UAV Project Part 1
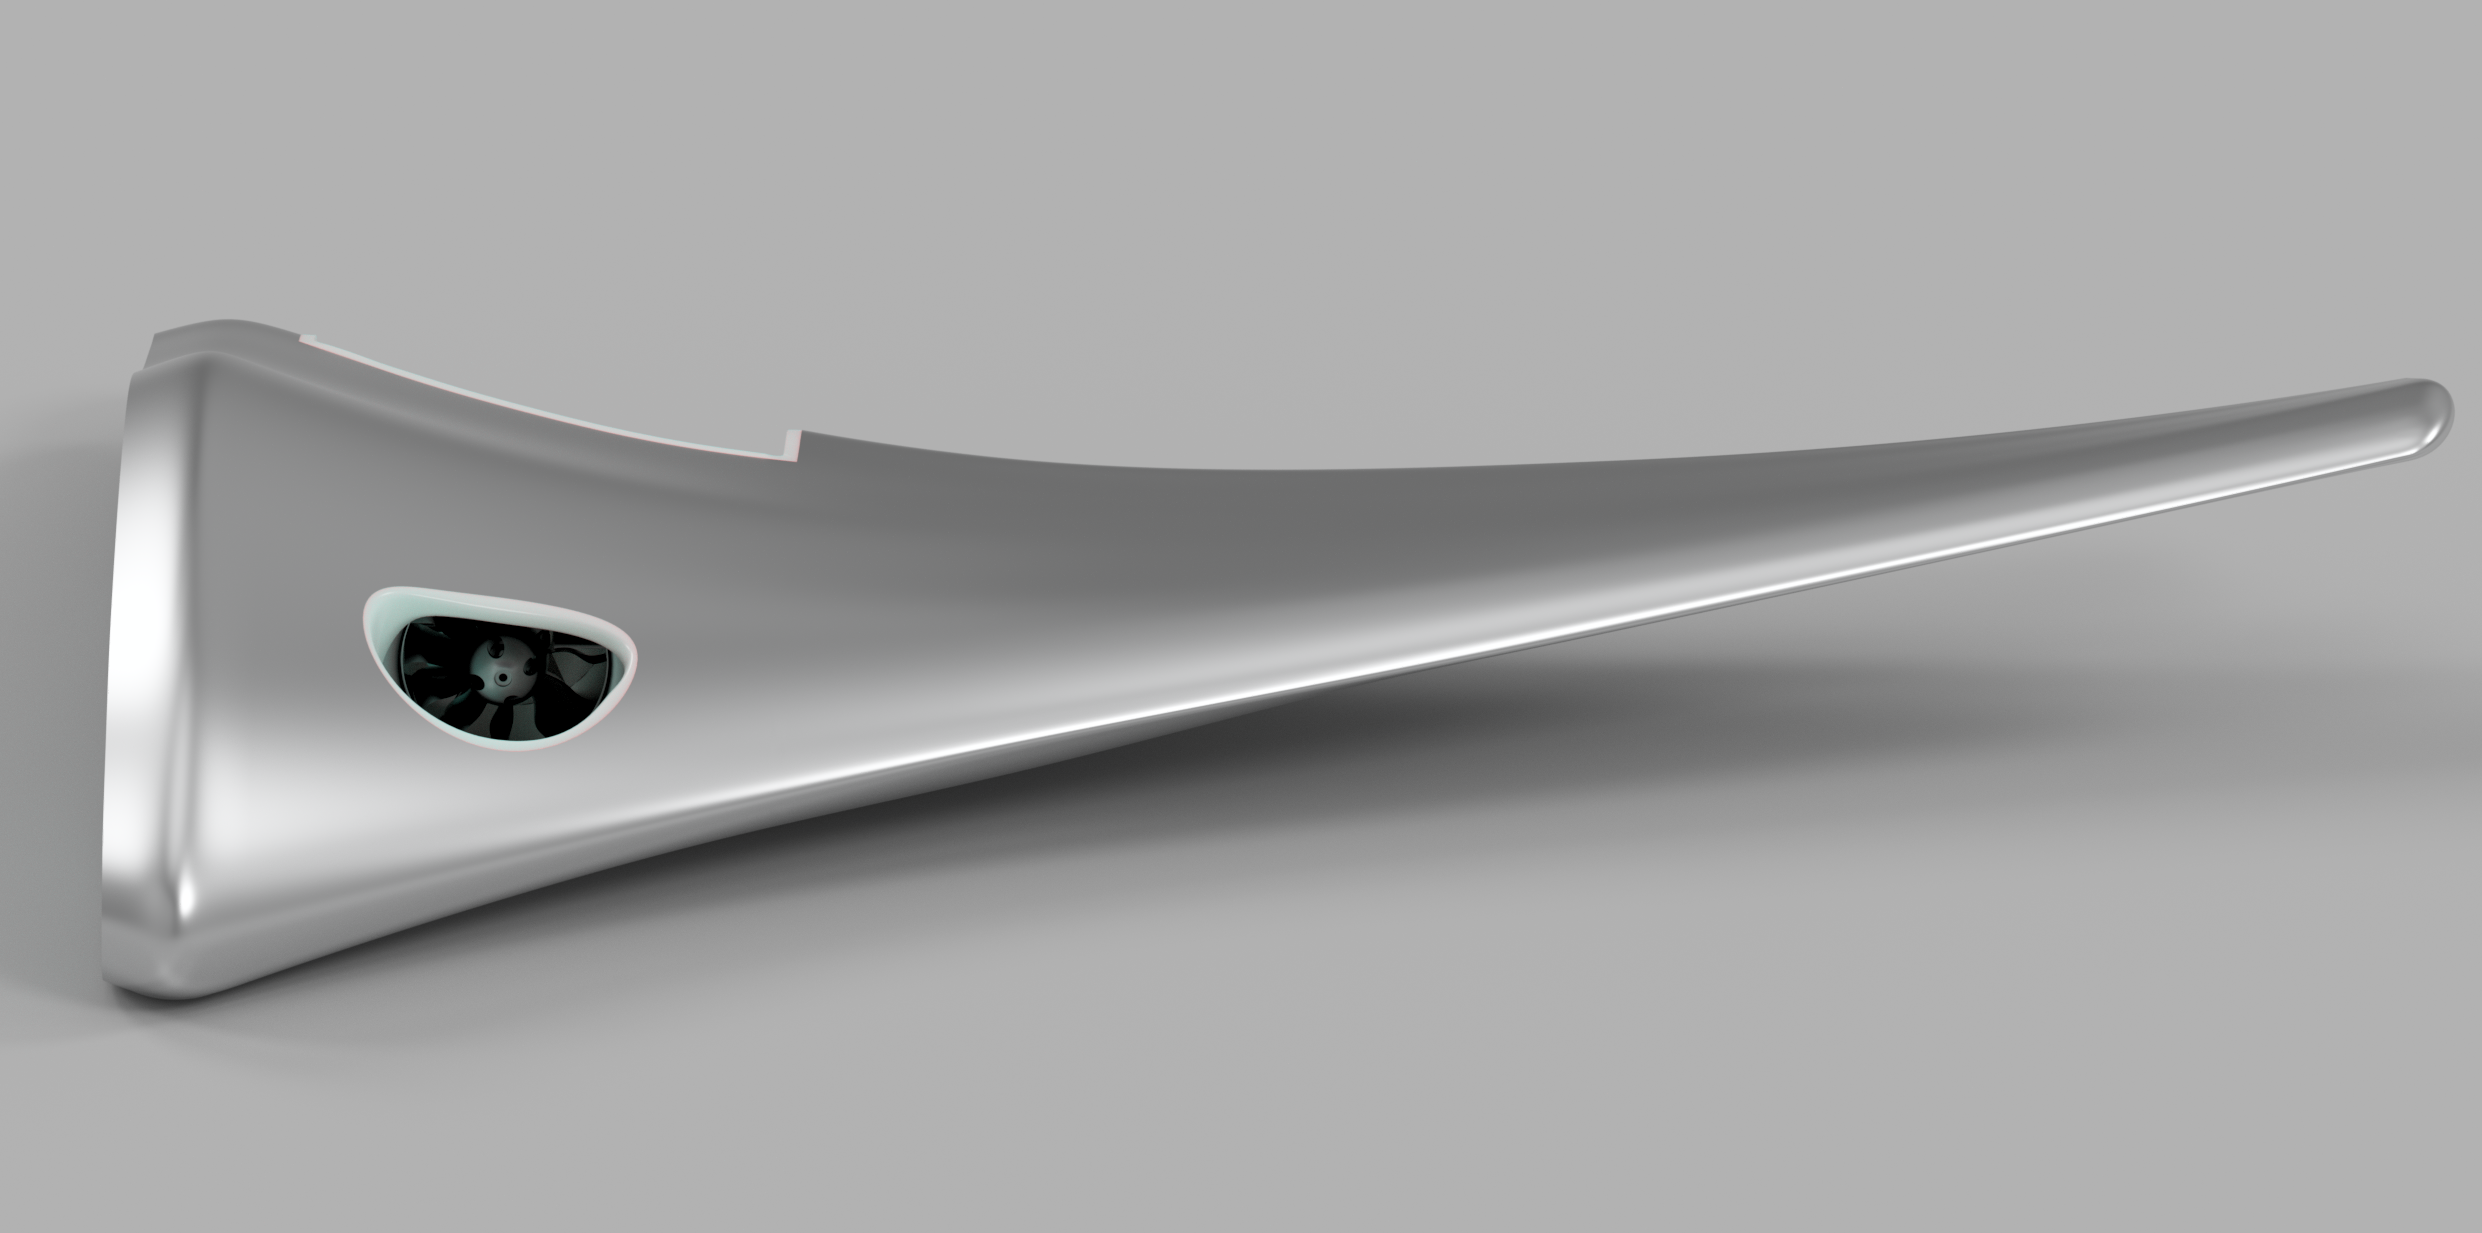
After completing High School and getting school licenses for Autodesk Projects with my McMaster Email, I wanted to start work on a major project for my portfolio before school started. My intent was for this project to be finished quickly, but also to be a culmination that would showcase all of my multidisciplinary skills and CAD expertise. My portfolio until now had been filled with my high school tech design projects and other focused projects I did on the side, and I had never done a long, full-stack design and research project. As I want to go into aerospace engineering eventually, an aerospace-oriented project interested me the most, although I was unsure what I should do. I had a few project ideas to begin with, but needed to narrow my selection to a single project which I believed would show technical depth, would be interesting to work on, and would be relatively quick. That last assumption for this chosen project was so incredibly wrong, but I still believe I have gained enough experience with part one of this project, completed between the end of my Grade 12 year and the beginning of university. The projects I was choosing between were mostly drone and rocketry-oriented. A friend from high school had talked a bit about making a rocket during the summer, but the idea fizzled out once summer actually started, although I did seriously consider this as an option. Unfortunately, compared to the other projects I could do, a rocket simply didn’t interest me much, and I did not know the laws surrounding hobby rockets in Canada. Another option I had was to complete my J52 jet engine first-stage design from high school, but I ended up deciding that doing that wouldn’t provide as much benefit as a completely new project, focused around something I might actually encounter to design in the next few years. From there, two main projects interested me- both drones: an FPV drone and an electronic fixed-wing UAV of some kind. I chose the fixed-wing UAV because I am much more interested in eventually going into aircraft design, and not so much FPV drones. I also might have been tempted to create the FPV drone in real life, which would definitely take extra time while restricting the scope of the project, and making a large electric UAV would keep the design purely in CAD and on paper. This seems like a strange constraint to have, but creating this project- one I wanted to have great technical depth- would be counterintuitive to my goal, as manufacturing would take much longer than I had, and- as I said with the FPV drone- would likely constrain the scope of the project, restraining my full demonstrable technical ability.
After selecting the electronic fixed-wing UAV, I had to decide specifically what I wanted to do for the project. In the end, I did decide upon a complex configuration, which wasn’t ideal for a first fixed-wing design, but challenged me in an interesting way: a flying wing. Alongside the flying wing objective, I had to decide the other main objectives and features, each of which had its own selection process. The first of these to tackle was propulsion, and at first I had a few different ideas, including a central propeller, two propellers on wing nacelles, an external EDF, and finally an internal buried EDF. The reason I decided upon an EDF over any propeller was that I knew propellers created wash over the surface of a wing body, and that it energized the boundary layer, which could be great for a flying wing, but I also knew that counteracting this and simulating it would likely be beyond my technical capabilities at the start of the project. Beyond this, I wasn’t confident that I would be able to learn how to simulate this within two months, and it would end up complicating the external aerodynamic design. I also chose EDFs due to their packaging design similarity to jet engines, compared to typical props. From here, I knew I wanted to use EDFs of some sort, but didn’t know whether I wanted to use buried EDFs or externally mounted ones on nacelle pods of some sort. I decided upon buried EDFs because I wanted to showcase my experience with smooth ducting transitions, and believed that external EDFs would add a lot of weight and result in an unappealing design (Although bad design was the weakest counterargument and the one that had the least sway on my selection). So, I tentatively selected the EDF, but kept an asterisk on my selection document to revisit this option later, after the aerodynamic shell of the flying wing had been created. I still have the intent to complete this post-shell propulsion selection while designing the shell mainly for buried EDFs, and the reason I haven’t done that yet will be clear later on in this page.
So, with the aircraft’s shape selected and the propulsion temporarily chosen, it was now time to find an operating point and the operating condition of the aircraft. Despite the fact that I don’t have the intent to fabricate this aircraft, I still wanted to design it as accurately as possible, and a massive part of that means finding an operating envelope. To do this, I selected a speed I believe the aircraft should maintain at cruise- 35m/s, or just about 125 km/h. This seems extremely fast, but for efficient UAVs, speed is typically a big factor, as lift tends to climb with speed (until a point, in isolated airfoil cross-sections, while Cl required for an aircraft for level flight also tends to decrease with speed)- more specifically, a higher Reynolds number tends to produce a better Cl/Cd graph, with other variables controlled. Alongside this, I also had to set an endurance goal, which I decided upon 20 minutes for, although I would have to review that later with battery selection alongside the propulsion, as those were the two primary variables controlling the drone’s endurance.
Finally, after doing everything above- everything I thought I needed for the aircraft’s criteria-selection phase- I began work on the pre-design phase, keeping in mind the constraints and design options. have chosen. After doing a bit of research on flying wings, I found that a near-zero pitching moment with a negative slope would be best, so the airfoil selection would have to keep that in mind. Furthermore, as the aircraft reaches its stall envelope, I learned that it is crucial for the wing root to stall first, with the stall slowly moving to the wingtip so that the aircraft doesn’t lose roll control and the operator can correct the stall. Going into the first design phase, I didn’t do nearly enough research, but this was also the quickest design phase, and I was able to easily recover and move on after scrapping this first design.
A bit about the first design, however: I used 4 different airfoils along the length of the wing, from the central fuselage to the wing root, then the midwing, and the wingtip. I lofted between them cleanly, with a typical Fusion360 surface loft, and capped the wingtip off with a smooth surface patch shooting off the wings, with both G2 and surface continuity. When mirroring this wing part, it created a central seam, which I fixed with a small central G2 fillet, and, in the end, the aircraft looked a lot like a Ho229 from above. I had a methodology for selecting each of the wing cross-sectional airfoils, but at the time it wasn’t very sophisticated and relied mostly on finding those favorable Cm curves- weighing that much more than I should have- and looking for high peak Cl/Cd. These approaches have definite errors and weren’t great for selecting coherent airfoils, as the peak Cl/Cd didn’t mean each airfoil had its peak at the same alpha, and the high stress on the pitching moment made me miss out on a bunch of great airfoil options. My selected airfoils were: Liebeck LA5055 for the fuselage center; US1000ROOT for the ‘wing root’ area of the wings; EPPLER 328 for the midwings; and RONCZ 1082 for the wingtips.
The LA5055 is part of a small airfoil family, and it is an interesting experimental airfoil. I planned to use its high frontal thickness to help to embed the EDFs, but I was missing one crucial detail about this airfoil- it was designed for very specific conditions. It struggles in flow where air is anything less than perfect across the airfoil’s surface, and in real aircraft and flight conditions, it wouldn’t be able to work consistently near its graphed characteristics. Additionally, the airfoil was heavily optimized and, because of that, requires near-perfect surface conditions. Beyond what the airfoil itself produces, it incites a lot of drag that airfoil analysis simulations don’t necessarily account for, and furthermore is optimized for a single narrow peak Cl/Cd. After this airfoil, the US1000ROOT isn’t a particularly bad airfoil if used correctly, but it was a bad choice for this aircraft. The important thing to note for it is that it is a symmetric airfoil and doesn’t produce much peak lift, while producing a lot of drag. Furthermore, it doesn't produce any lift near 0 degrees alpha, and the graph is symmetric around the origin, the intersection of 0 degrees alpha and 0 Cl, meaning that even shallowly negative alphas, the airfoil would produce negative lift. After that, the EPPLER 328 was used for the midwing airfoil. This airfoil’s characteristics were alright, with a gentle Cl/Cd graph, good near-zero Cm characteristics, and high peak Cl; although the shape of the airfoil is interesting, it would have been difficult ot manufacture, and was much too thick a selection for the midwing airfoil. The final selected airfoil was the RONCZ 1082 tip airfoil, which is another airfoil with good Cm characteristics but a sharp Cl/Cd curve, as well as a relatively early stall, which isn’t desired for a wingtip airfoil on a flying wing. While each of these airfoil choices alone has been questionable, the biggest issue stems from using them together. As I stated earlier, every airfoil is lofted together as smoothly as possible- in this case, each lofted section creates such an extreme shift that the performance of the cross-sections between main airfoils is likely abysmal, especially due to the large shape changes between every airfoil section in this wing. Although the loft may be continuous and smooth, the behavior of the airfoils and wing doesn’t follow that same trend.
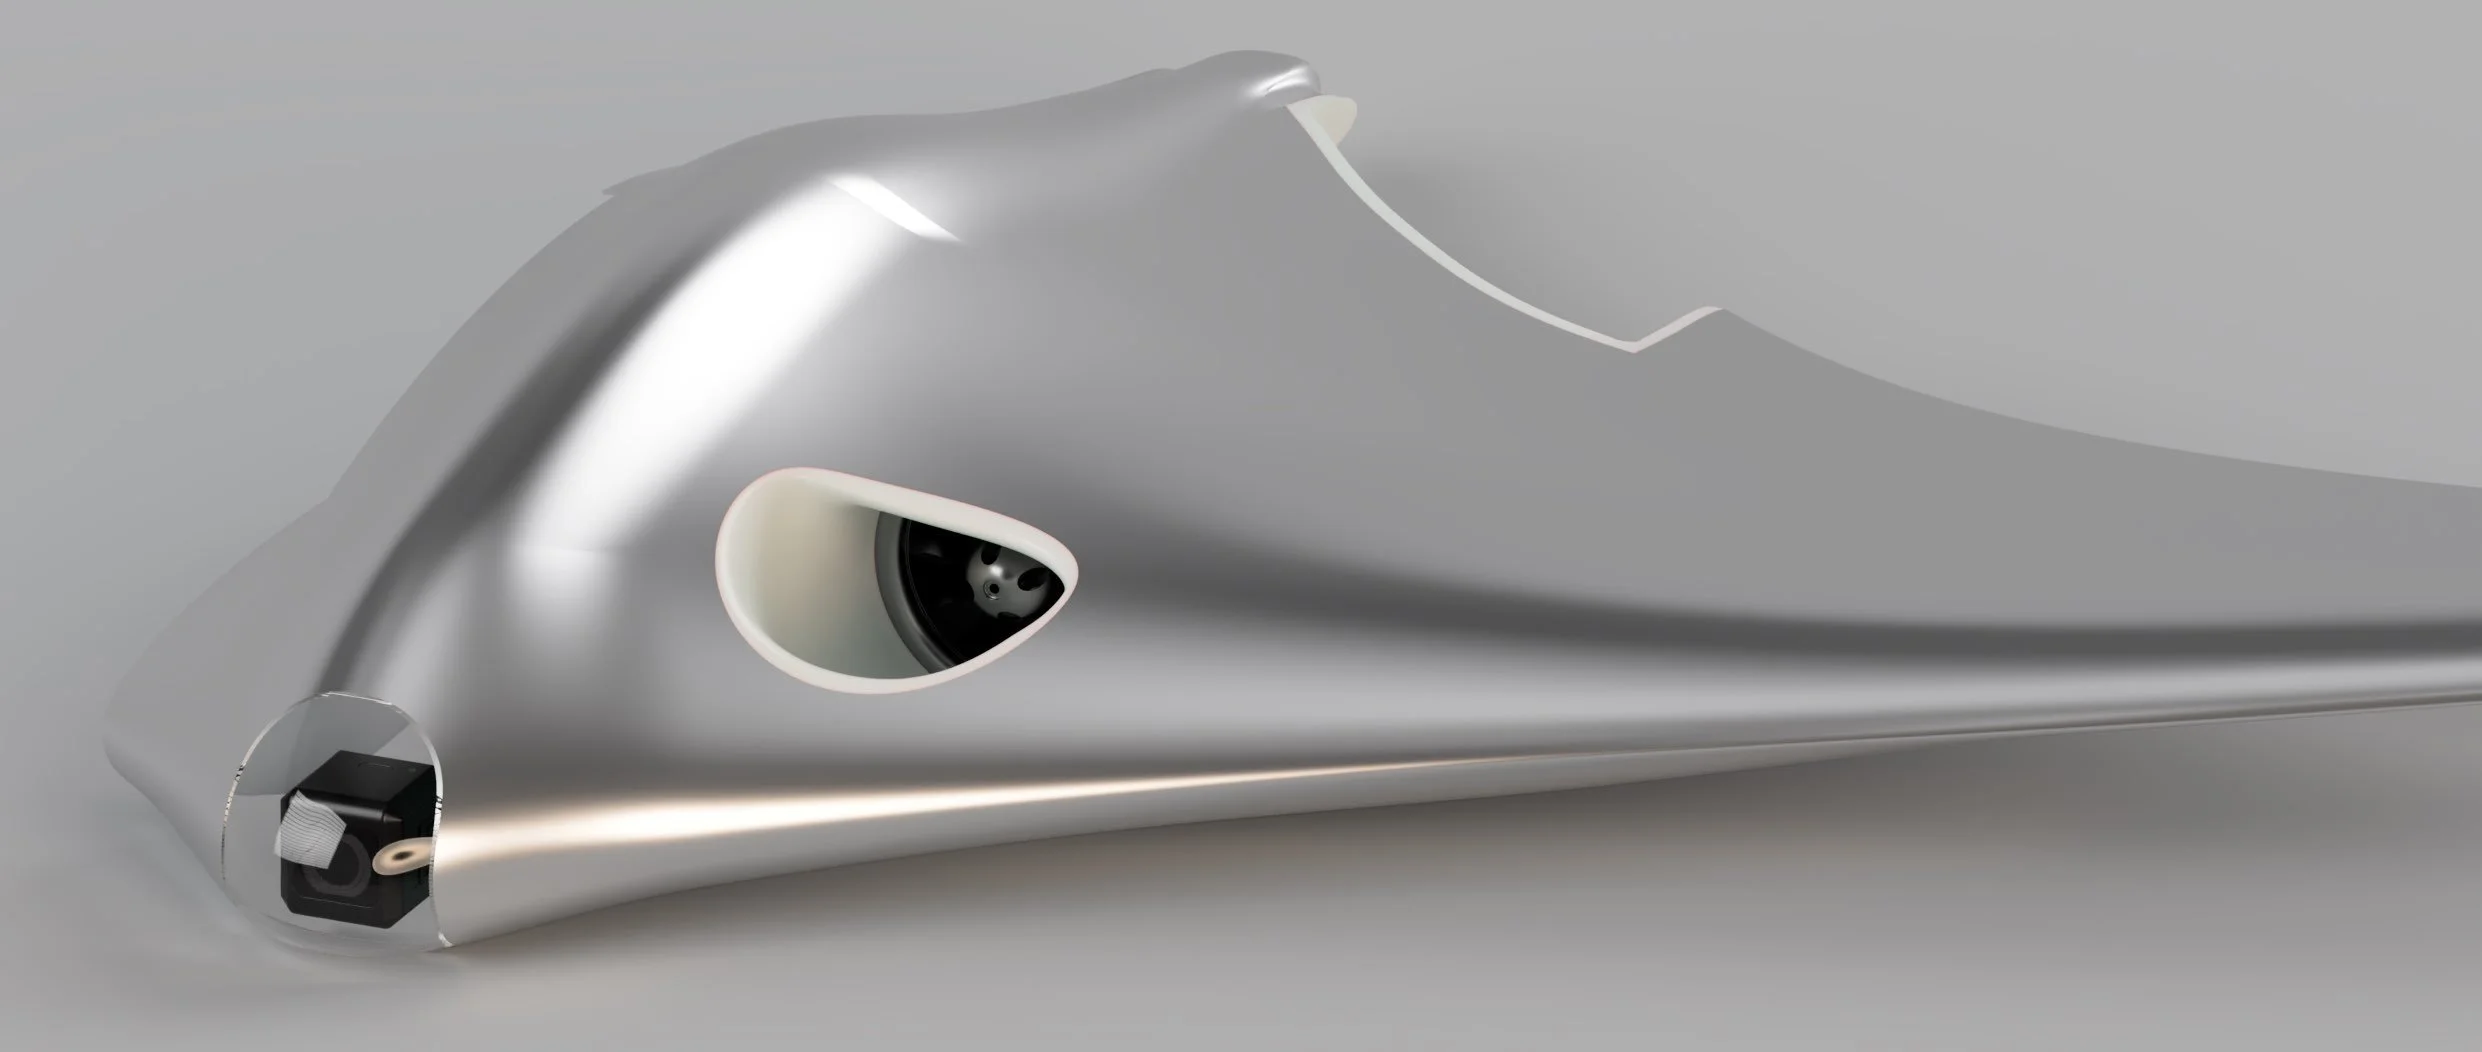
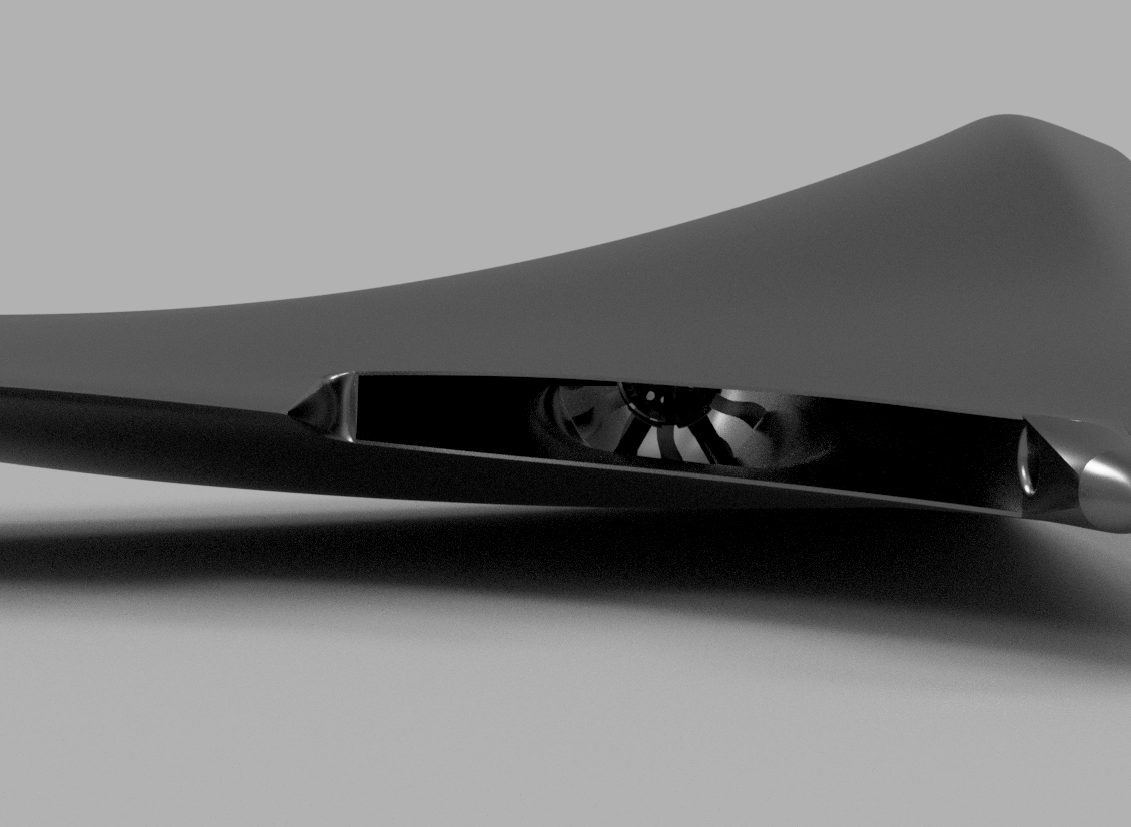
While I should have stopped there for version 1, I- at this point- wasn’t running CFD calculations after the aerodynamic body and instead put it off until I had completed the ducting and engine placement for the aircraft. Due to this, my next step was selecting an EDF. For this, I took different EDFs into consideration, eventually settling on a configuration of 2 medium-diameter EDFs, with a large removable battery in the middle of them. The selected EDF was 100mm in diameter and made of carbon fiber, reducing weight considerably compared to typical EDFs- approximately 1/3 the weight of comparable EDFs of the same diameter. These were placed centrally between the wing root and center of the aircraft. After the placement was completed, a duct was added from the front, top surface of the wing, to the EDF’s intake, smoothed at the transition with a G2 fillet, and G2 duct geometry. At the EDF’s exhaust, it was ducted into a thin but wide channel, slightly higher in area than the EDF’s intake diameter. This exhaust duct was then exhausted in a cutout made at the trailing edge of the wing geometry, split equally between the top and bottom surfaces. This exhaust geometry had no G2 fillet to smooth the transition to the wing area, as it was unnecessary for outward flow and would further complicate manufacturability; instead, only the internal exhaust duct geometry was made with G2 surfacing.
Once I had these components added, I finally decided to set up and run an Autodesk CFD run, where I ran into issues with creating a model for the simulation, as some of the geometry was unable to be used as-is, for a reason I am still unsure of, but it likely stems from my bad CAD practices for this first version. Because of this, I had to set up the solver to create a geometric, non-smooth mesh around the existing CAD geometry, so the solver could be run. The results in this were abysmal at flight conditions, likely stemming from four main issues: highly constrained CFD bounds, the rough geometry used for the CFD, the bad loft transitions between the incompatible airfoil sections, and the duct geometry and internal EDF- although I made sure to remove the blades for the CFD run.
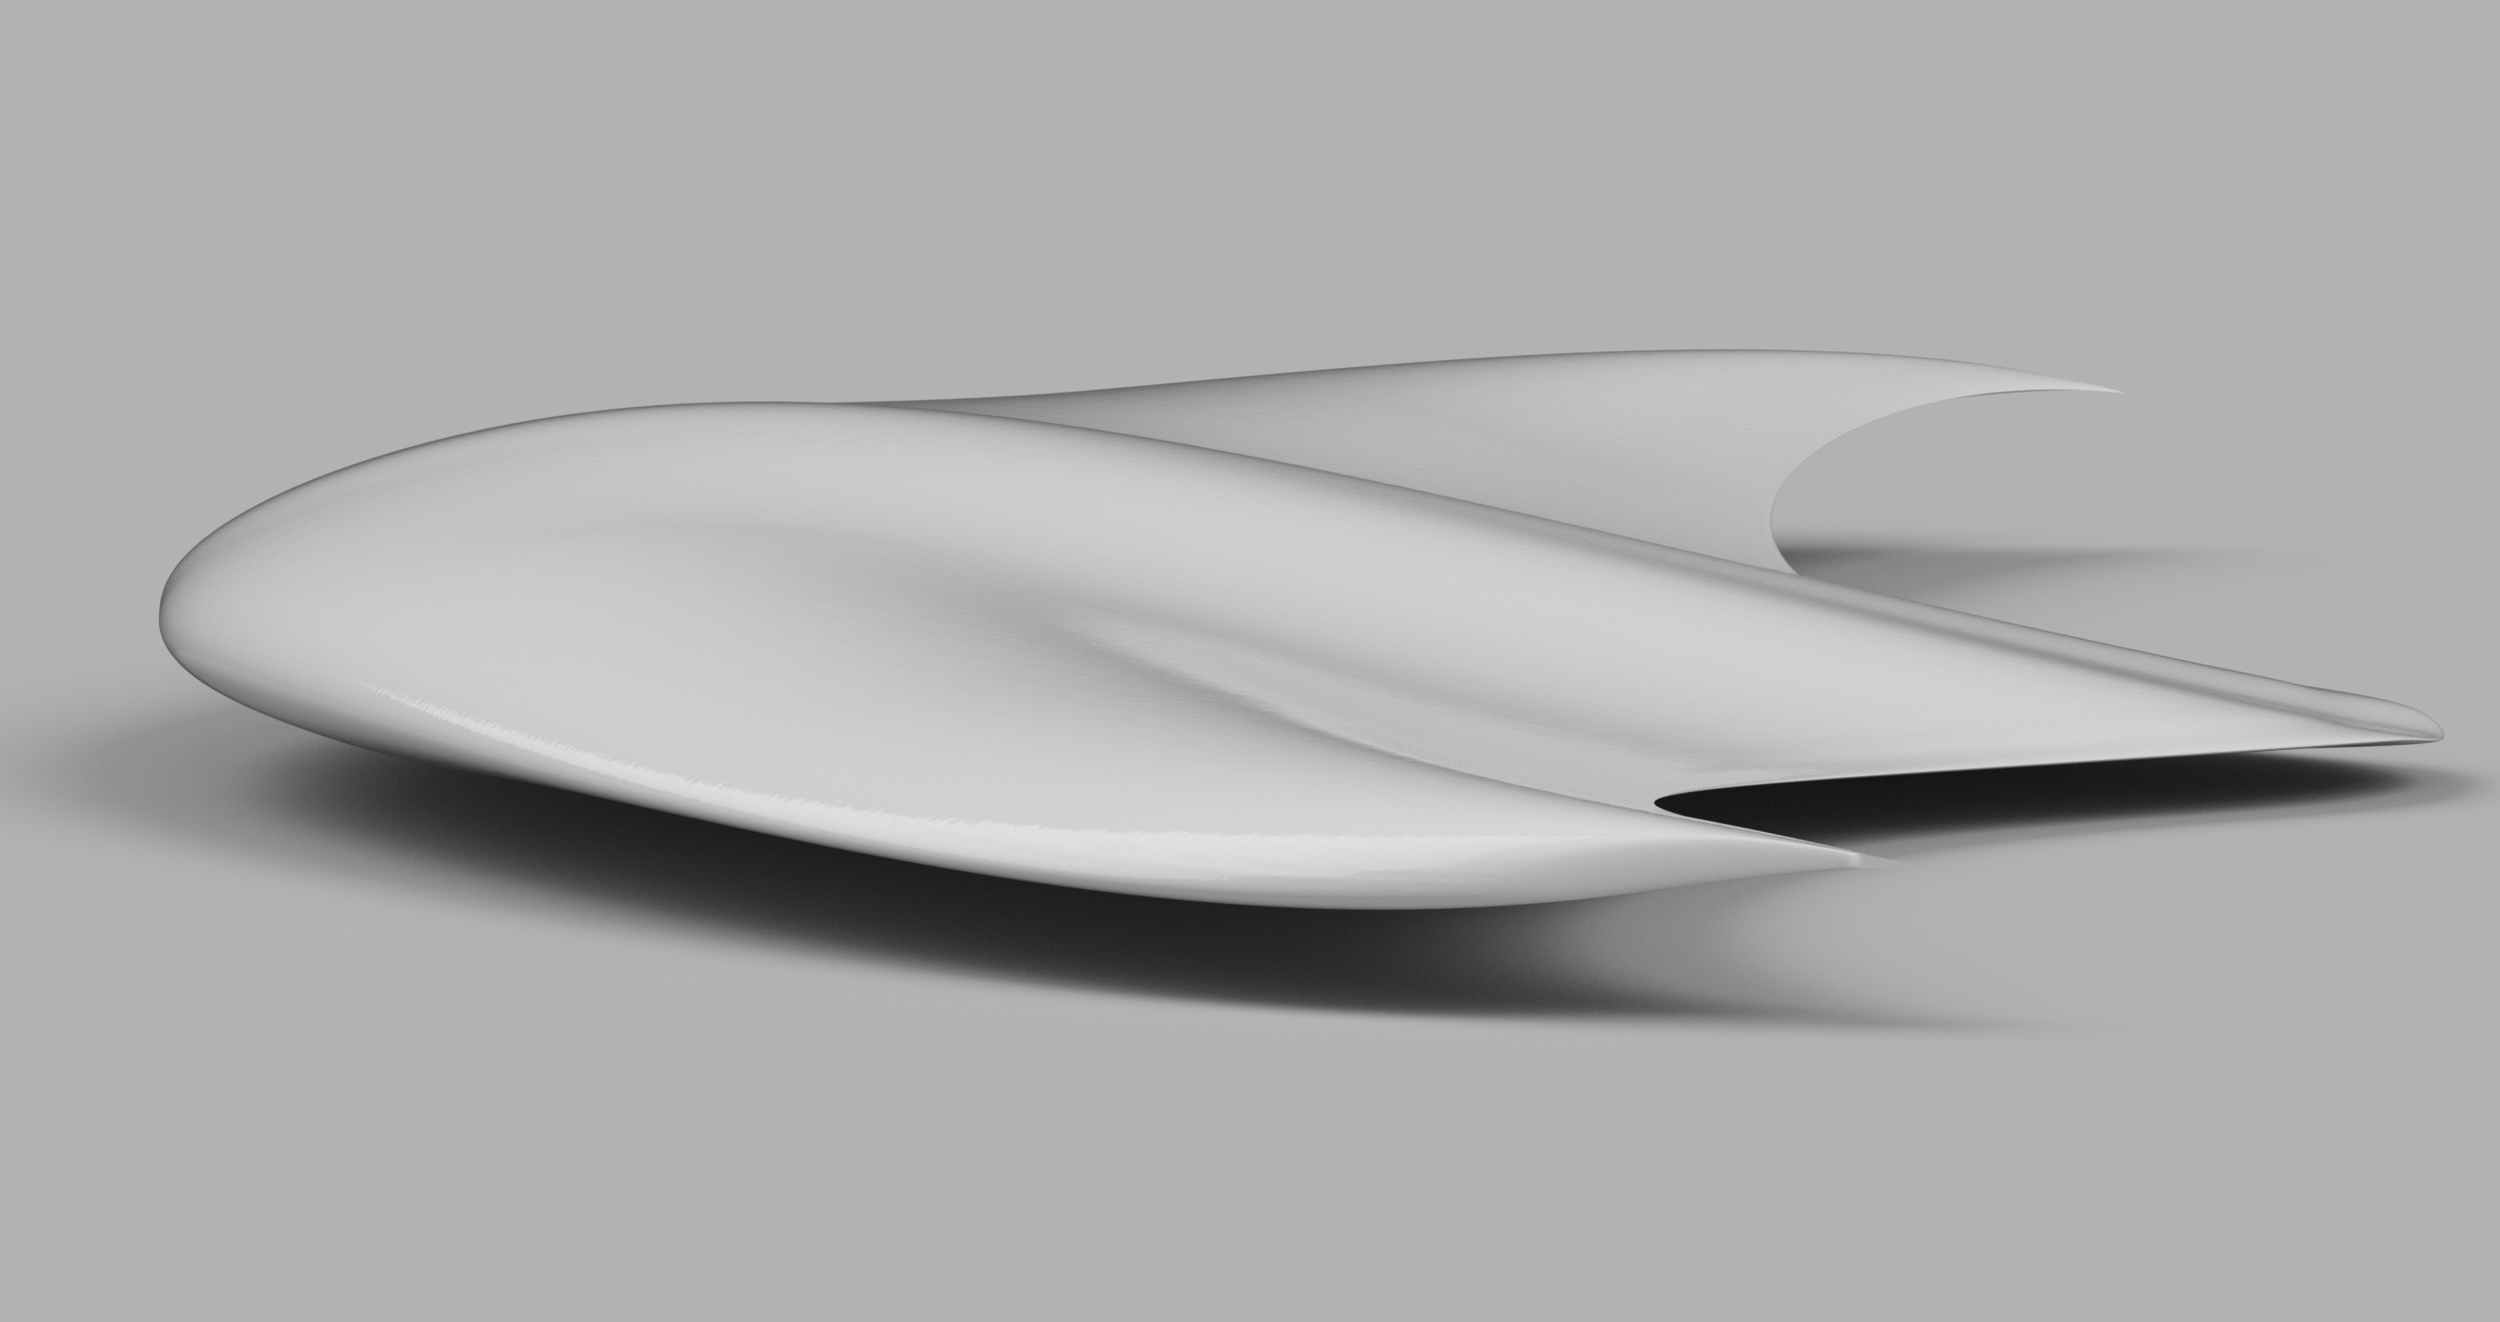
Moving on from Version 2, I completely changed my entire methodology for wing design in preparation for Version 3. From my documentation, I specifically noted these areas from V2: Firstly, selected airfoils optimized for high peak Cl/Cd, but didn’t value the placement of that peak Cl/Cd nor the behavior of the curve at multiple important alphas- just the main peak and characteristics surrounding it. Secondly, the airfoils performed badly at cruise due to the fact that only the wingtip airfoils generated substantial lift at cruise, and the other airfoils- even with their designs angled up with the aircraft at 0 degrees alpha- didn’t produce a lot of lift, but produced a lot of drag, especially the fuselage to wing root areas. Finally, the airfoils were optimized mainly for the Cm closest to 0- while not inherently bad, it did limit the airfoils I seriously considered, and resulted in worse overall airfoil performance compared to airfoils with slightly more unfavorable Cm values.
My main takeaways from these observations influenced my selection methodology for V3 in the following ways: The first, and most important change, is that I would now be optimizing for Cl/Cd at cruise, which I defined as the range between -2 and 0 degrees alpha, in conjunction with optimizing for climb, which I defined as approximately 10 degrees alpha. The second change I made was that I would be decreasing the requirement for near-zero Cm values for the midwing and wingtip airfoils, but that I would be keeping this requirement in a more muted way for the fuselage and wing root airfoils- as they will create the highest pitching moment. Finally, I decided that the airfoils I choose should all be from the same family, as I simply do not know enough about airfoil design and behavior independently to consider (without intense analysis) how the loft between airfoils will behave. Because of this, I decided that choosing airfoils from the same family would be the best way to reduce the risk of erratic lofting behavior between airfoil sections. I specifically note the airfoil lofting behavior from V2 in my notes, citing a lift difference of 10x between the airfoil’s expected behavior and their behavior on the full aircraft (e.g. if the airfoils had a weighted average Cl of 1 at a specific alpha, the aircraft at that alpha had a Cl of 0.1).
Alongside methodology changes, I also changed my airfoil selection guidelines, as I wanted to reduce the aircraft’s speed slightly at cruise, and wanted to revise my Reynolds number estimates with calculated Reynolds numbers. In this section, I also made changes to what I was looking for in each specific airfoil, typically just more detailed considerations- considering washout, and clarifying stall behavior for each airfoil. Once that was revised, I created a new list of requirements for comparing airfoil series. These requirements included the following: Immediately, I recognized that I would need a wide airfoil series, so noted that I desired an airfoil series which would work best around a Reynolds number of 500000, but with options that perform well substantially lower and significantly higher, as well. The second requirement I had was that I wanted an airfoil with high Cl/Cd ratios near 0 degrees alpha, peaking close to 5 degrees alpha, and that the airfoil series should be relatively low drag and high lift. This seems obvious, but I clarified that the Cl/Cd ratio should be made in conjunction with good values for Cl as well as Cd, not just a normal Cl and excessively low Cd, as some of my prior airfoils I had selected were. Another requirement I had for the series is that I wanted the airfoils to have a good transition between airfoils of the same series (Essentially the reason I’m choosing a series first this time instead of just individual airfoils again)- I don’t want an airfoil series which only performs well because its individual airfoils’ geometries vary so much within the series. Finally, the last two considerations I had were that the airfoil series has to have a wide array of airfoils to choose from, and that they don’t require unrealistically laminar flow for good behavior (such as the Liebeck LA5055 airfoil in my first version).
Moving on from this, I actually began comparing different airfoil families, writing notes about each as I considered them, and then performing a final analysis and selection of a family to use. While I won’t go through the full, extensive list here, I will note some interesting airfoil families I considered, and then I will paraphrase my final analysis and reasons for selection of the airfoil family I decided to continue this aircraft version with. The NREL’s S800 airfoil family is a windmill airfoil family I considered due to its high thickness, wide selection, and robustness in rough weather conditions, but eventually decided not to use because of their restrained Cl behaviors. I also considered the Eppler 300 airfoil family due to their wide use in aircraft and great characteristics as well as wide family, but eventually decided against because of their very optimized nature requiring excessive laminar flow, meaning they would require very accurate manufacturing, and may not be able to fly well in rougher conditions, so not great for a medium-length flight UAV. The airfoil family I eventually landed on was the MH airfoil family- a family consisting of low-Reynolds number optimized airfoils, with lighter laminar flow requirements and wide airfoil selection, still containing airfoils for high Reynolds numbers which would transition well into airfoils for the lower Reynolds number regimes within the same family. Although the main reason I chose this family was for this variety in airfoil thickness, I also chose it for its comparable performance to the FX72 and Eppler 300 airfoil families, and more robust nature than either, meaning easier manufacturing and a more robust eventual aircraft. My eventual selection was because I believed the MH airfoil family is more aligned to realistic airfoil behavior, conditions, and and aircraft robustness than other perfect-case optimized airfoils.
Moving on from airfoil family selection, I began to pick out which individual airfoils I would be using for the various cross-sections of the wing; still with 4 cross-sections like before. The selected airfoils were chosen out of an average of 6 airfoils per cross-section, all 6 being within the same family, and a total of 18 individual MH airfoils. The selected airfoils, from root to wing-tip, were: The MH 150; MH 114, MH 116; and MH 115. These airfoil sections loft incredibly well together- the majority being a part of the MH 112-MH 117 subfamily, with just varying thicknesses and specific minor characteristics to encourage the root-first stall and work better with wing washout near the tip. The MH 150 airfoil was a slightly odd choice, and was majorly chosen due to its wide 23.9% thickness. The MH 150 was originally designed for Marine Ruddershafts, but works great in air as well; creating enough space for an EDF while also producing exceptional lift and surprisingly low drag considering its leading edge radius and thickness. From this point on, the construction of the airframe began in CAD, putting off a post-airfoil analysis using xfoil’s inte operation, checking for loft consistency between airfoil sections; the driving reason behind this possible addition was to evaluate the airfoil lofting before cementing the selected airfoils, but I ended up putting off this step due to time encroachment from summer ending, and put it off unless a Version 4 of the aircraft was necessary. Because of this, the design of the flying wing began in CAD, with approximately a 2.5:1 taper ratio between the fuselage chord length and wingtip chord length. The design of the aircraft also had a straight trailing edge ( no angle), and a 20.5 degree leading edge sweep, which would be only slightly beneficial at 35m/s (the intended target airspeed of the aircraft), and instead was designed to make the internal structural construction easier, with lower wingtip forces to ideally reduce weight. The drone’s aerodynamic body (before components added or any channels/optics) was finalized with a wingspan of approximately 2.475m, a fuselage chord of 0.753m, and a wingtip chord of 0.308m. The mean aerodynamic chord of the aircraft was 0.559m, with the aerodynamic skin’s center of mass located at 27.64% MAC, which is fine for the aerodynamic skin of a flying wing, as more weight will be added to the nose to bring the center of mass forward, below 25% MAC, which is where the NP of the aircraft is located for typical flying wings.
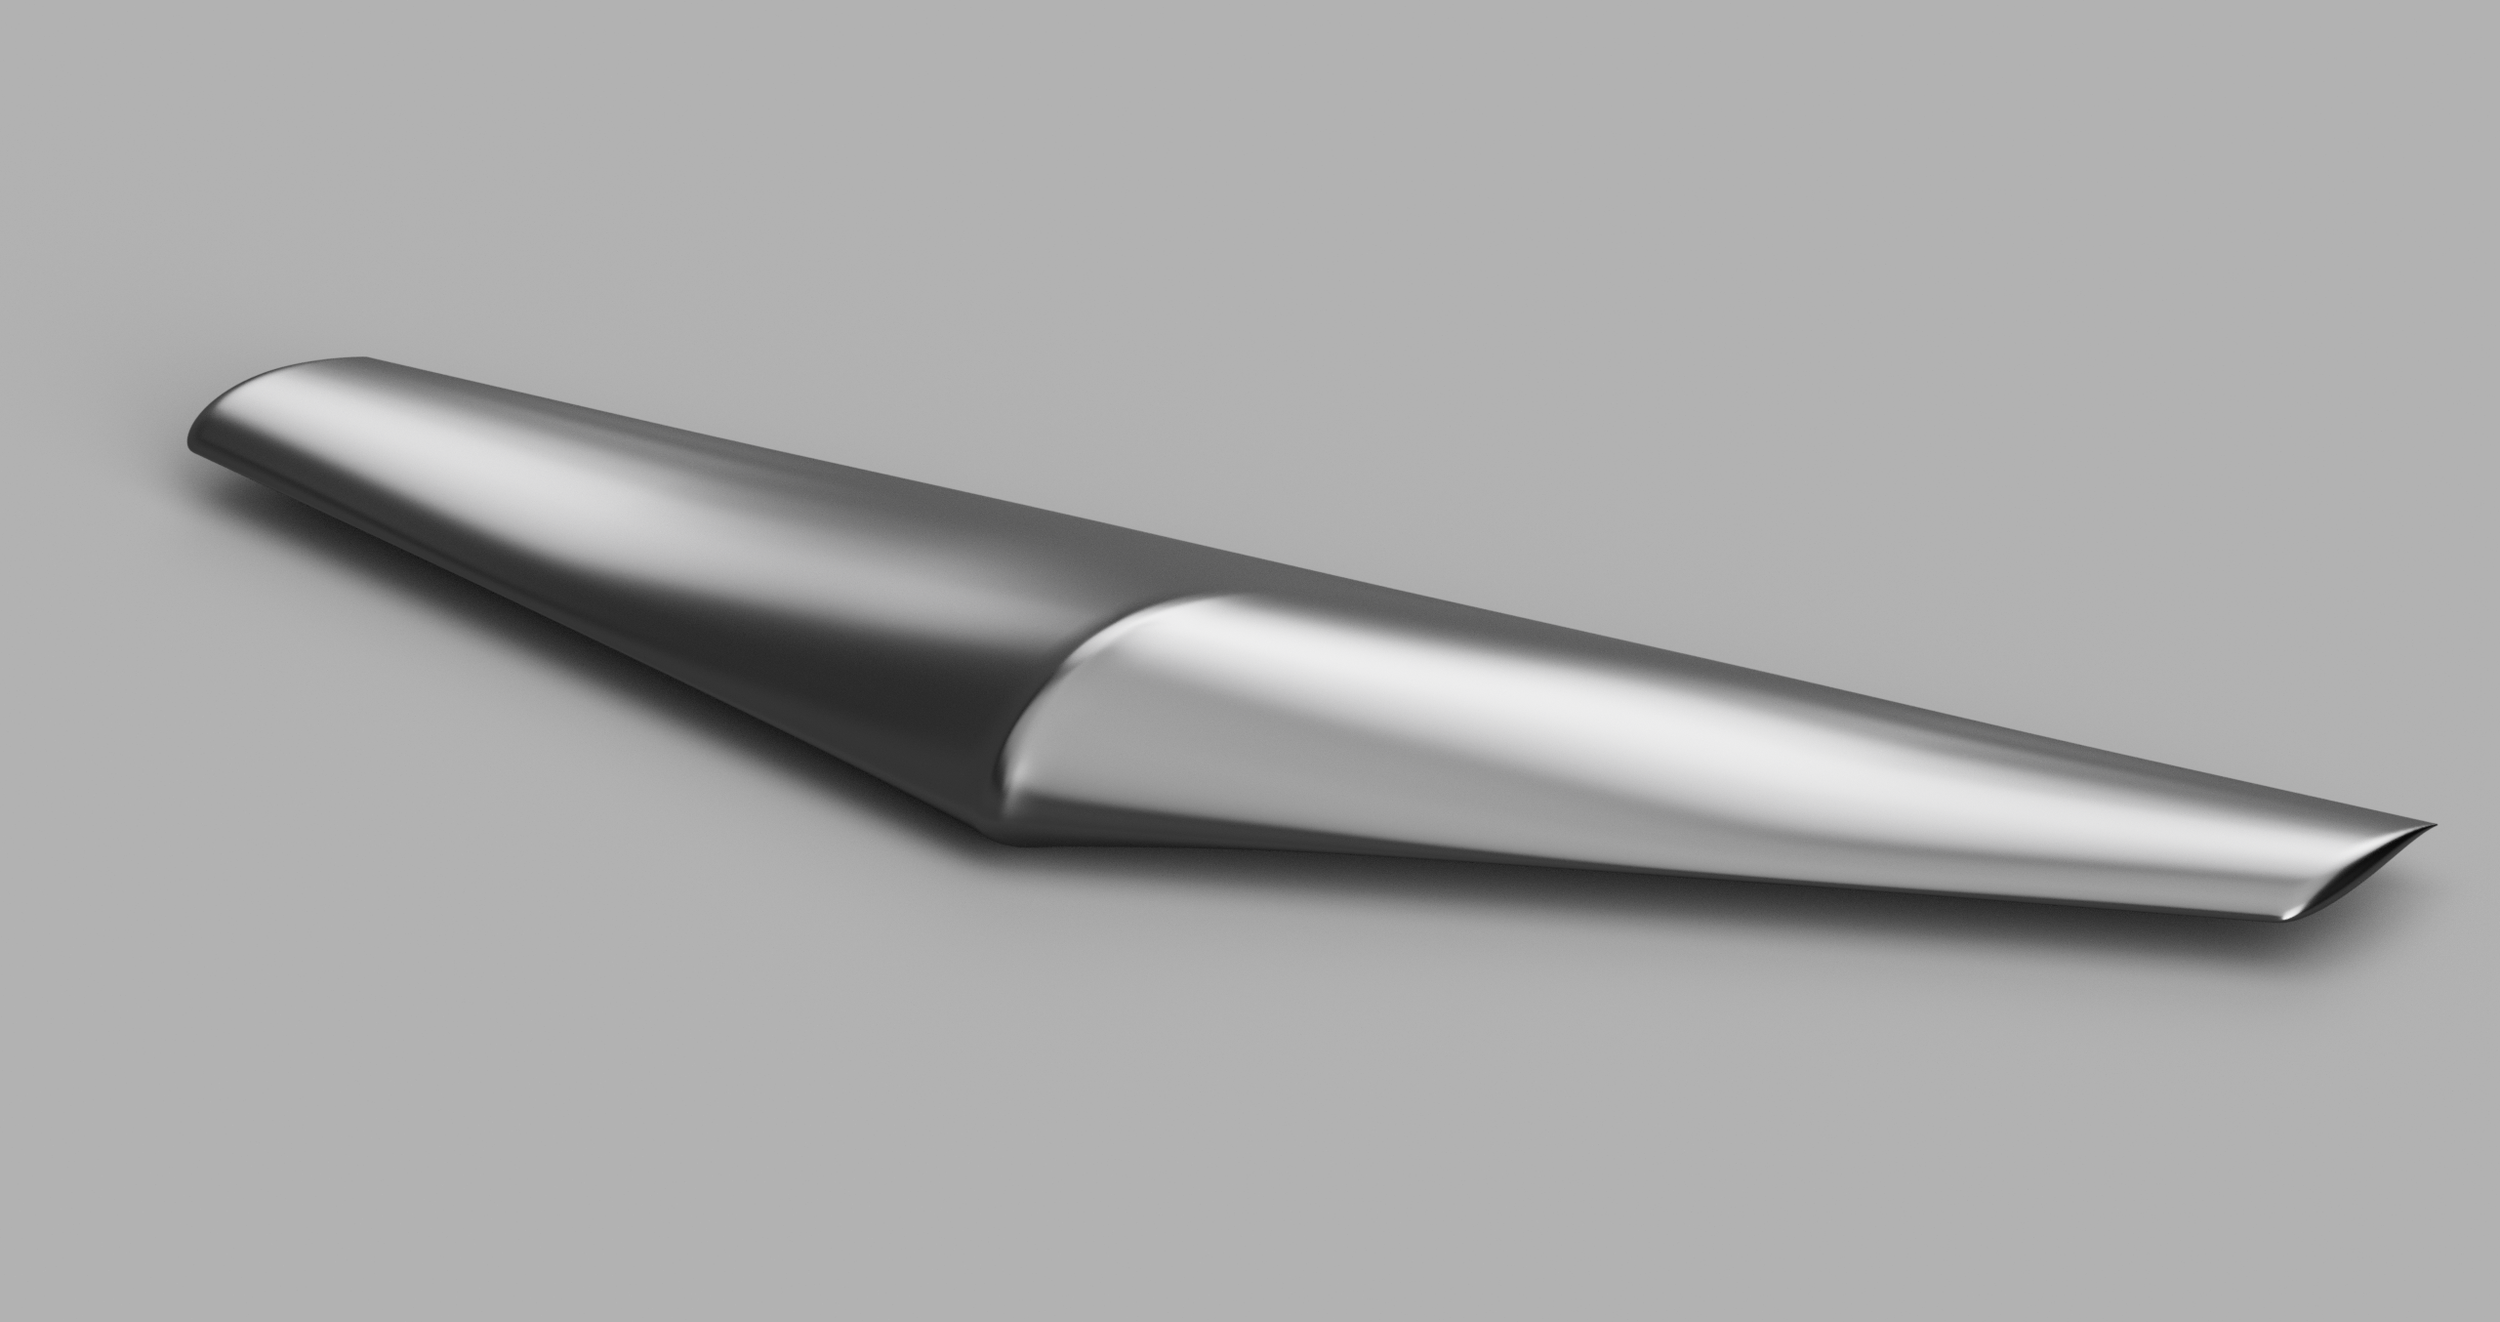
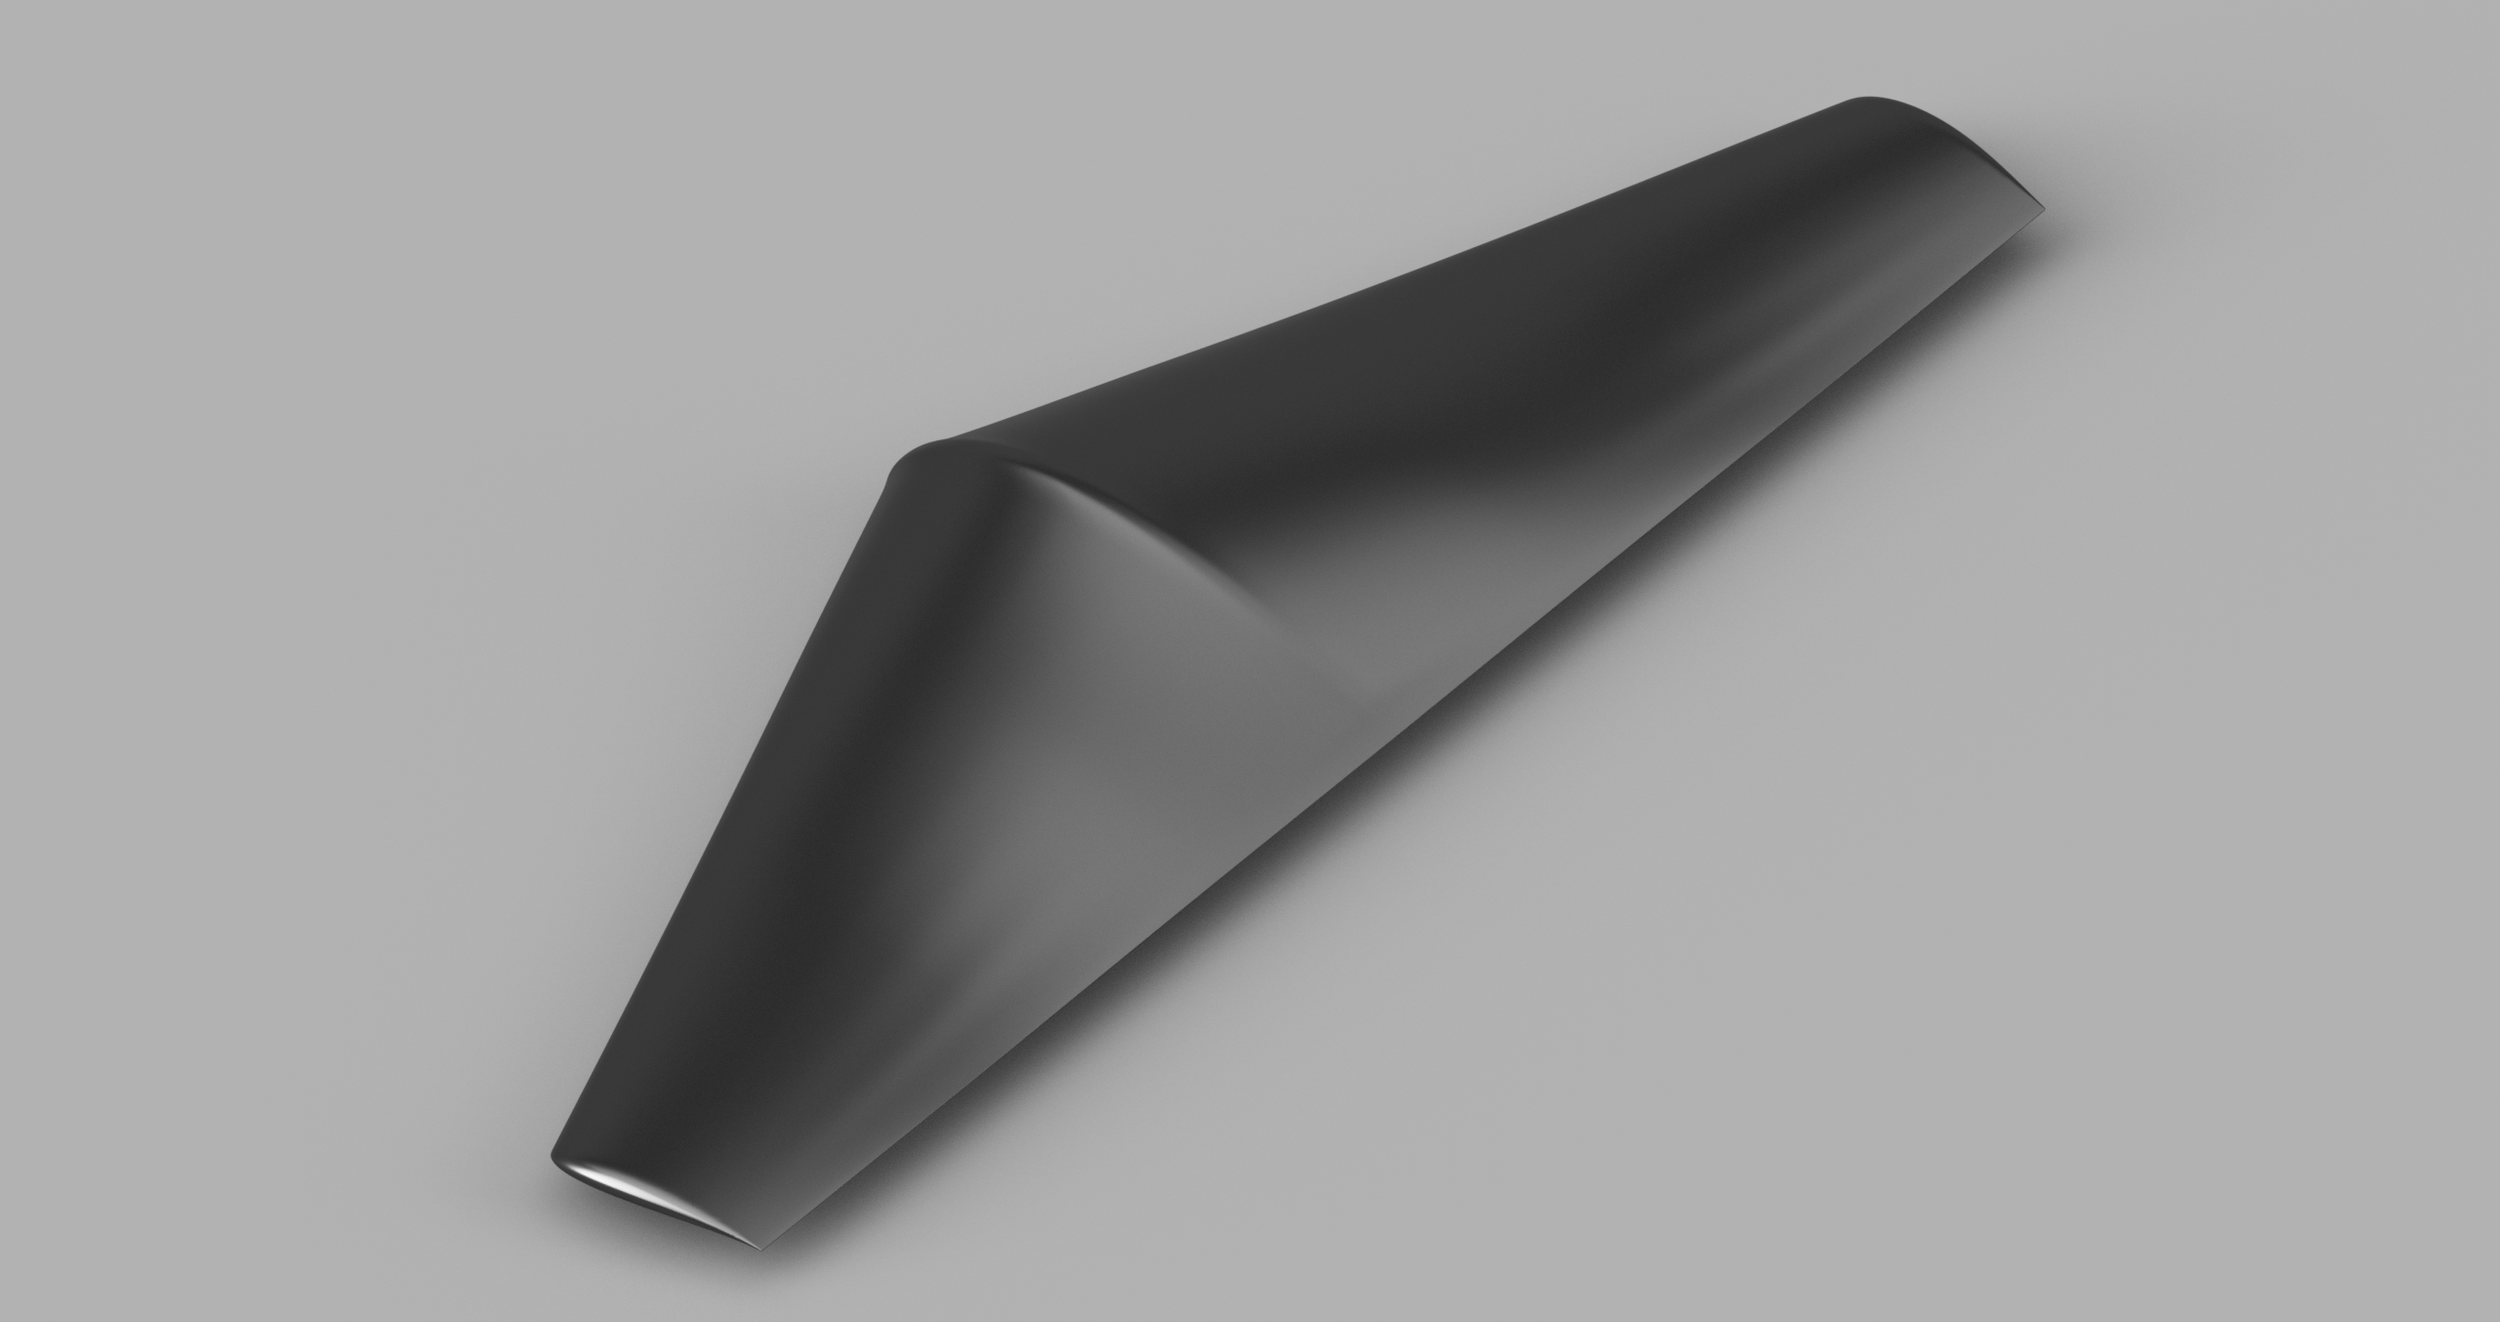
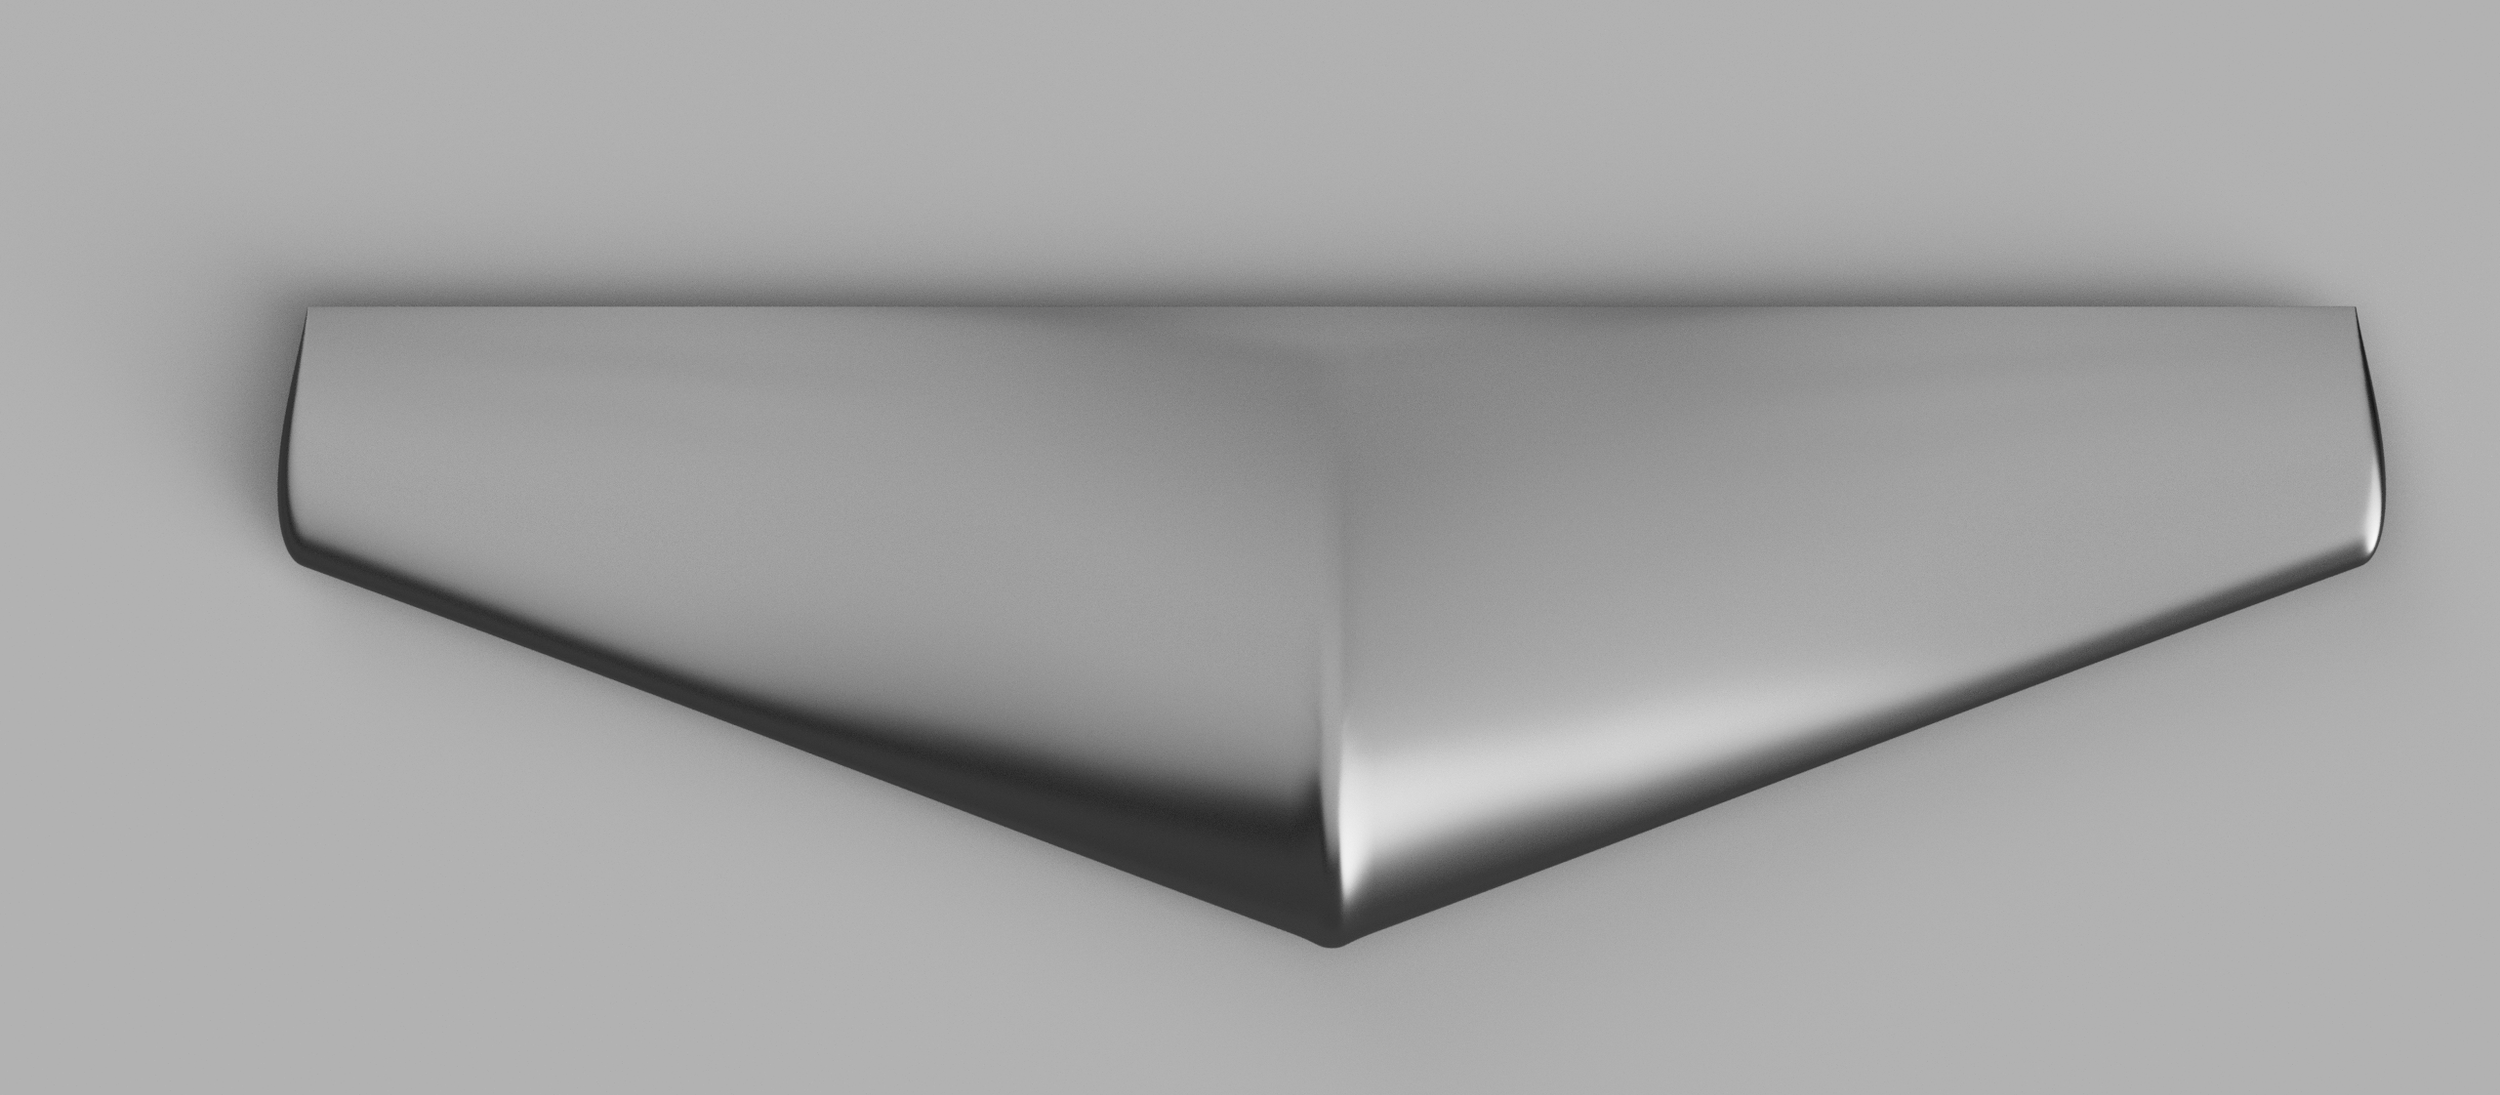
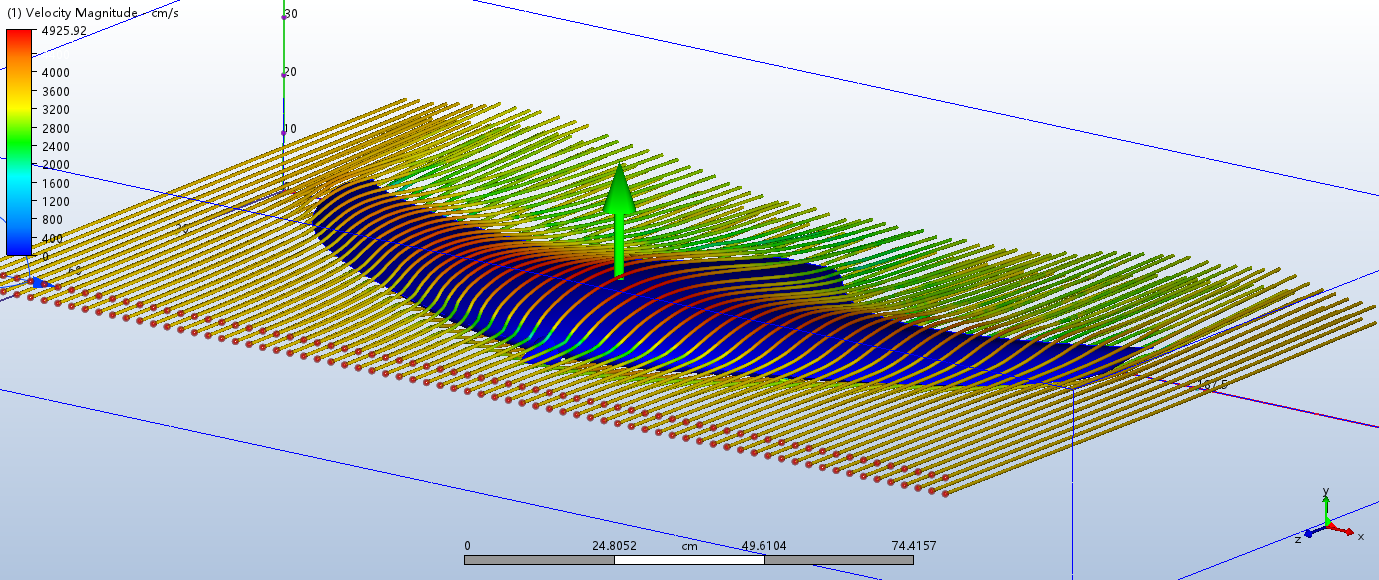
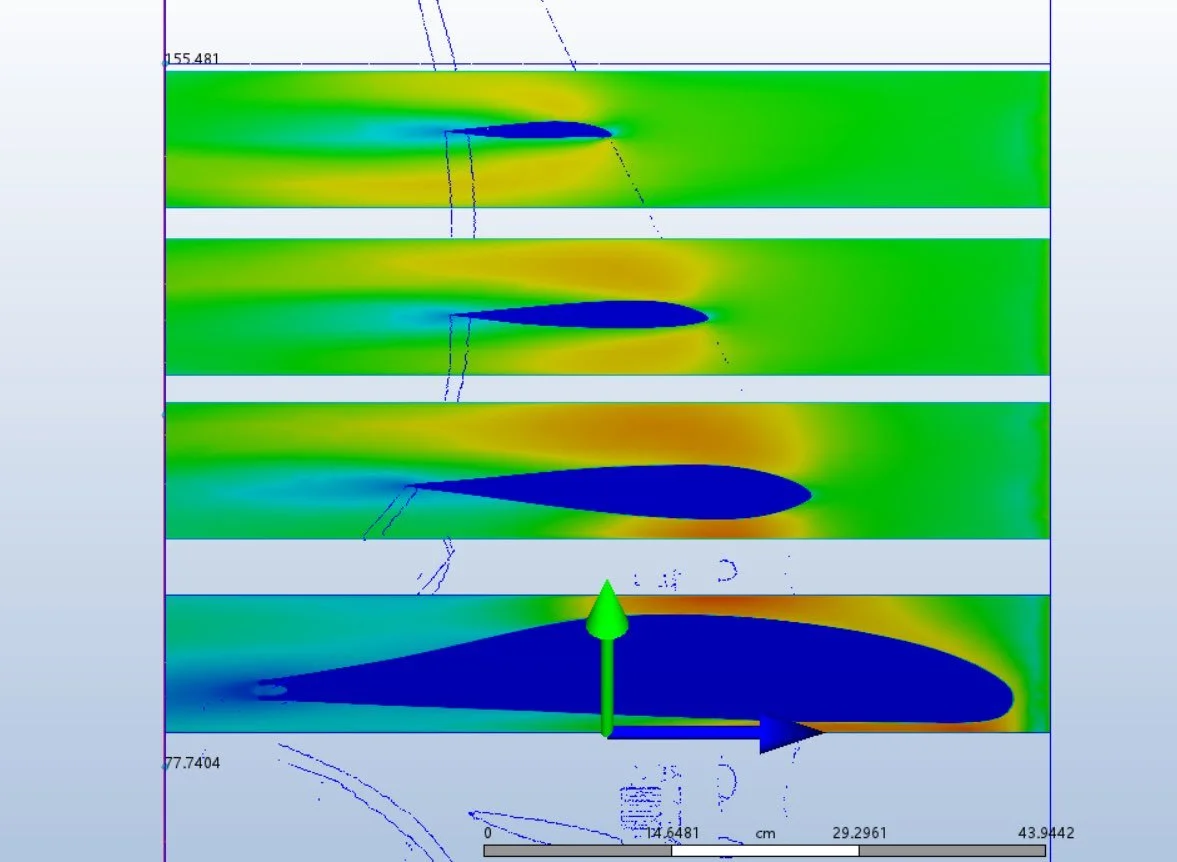
After the aerodynamic skin for V3 was completed, I moved forward into Autodesk CFD to evaluate how the airfoil performed. The results I got were less than satisfactory… again. At the tested alpha points, the Cl/Cd ratio never exceeded 10, reaching a peak of 9.95 at 5 degrees alpha, but with drag degrading all the results. At 0 degrees alpha, approximate cruise, the airfoil only generated a 5.08 Cl/Cd ratio, again at the intended cruise operating point. With these results, I felt incredibly discouraged, but created a method for V4’s airfoil design immediately after, although I haven’t worked on an aircraft with this design methodology yet. I would be reducing the number of different airfoils to a maximum of 2, with only 2 cross-sections- the fuselage and wingtip. I would also be selecting a taper ratio, chord lengths, wingspan, and all other values upfront rather than deciding upon the sweep and span during the design. These were the major changes I made, while also deciding to later evaluate whether 35m/s would be a good cruise point ,or if it should be dropped.
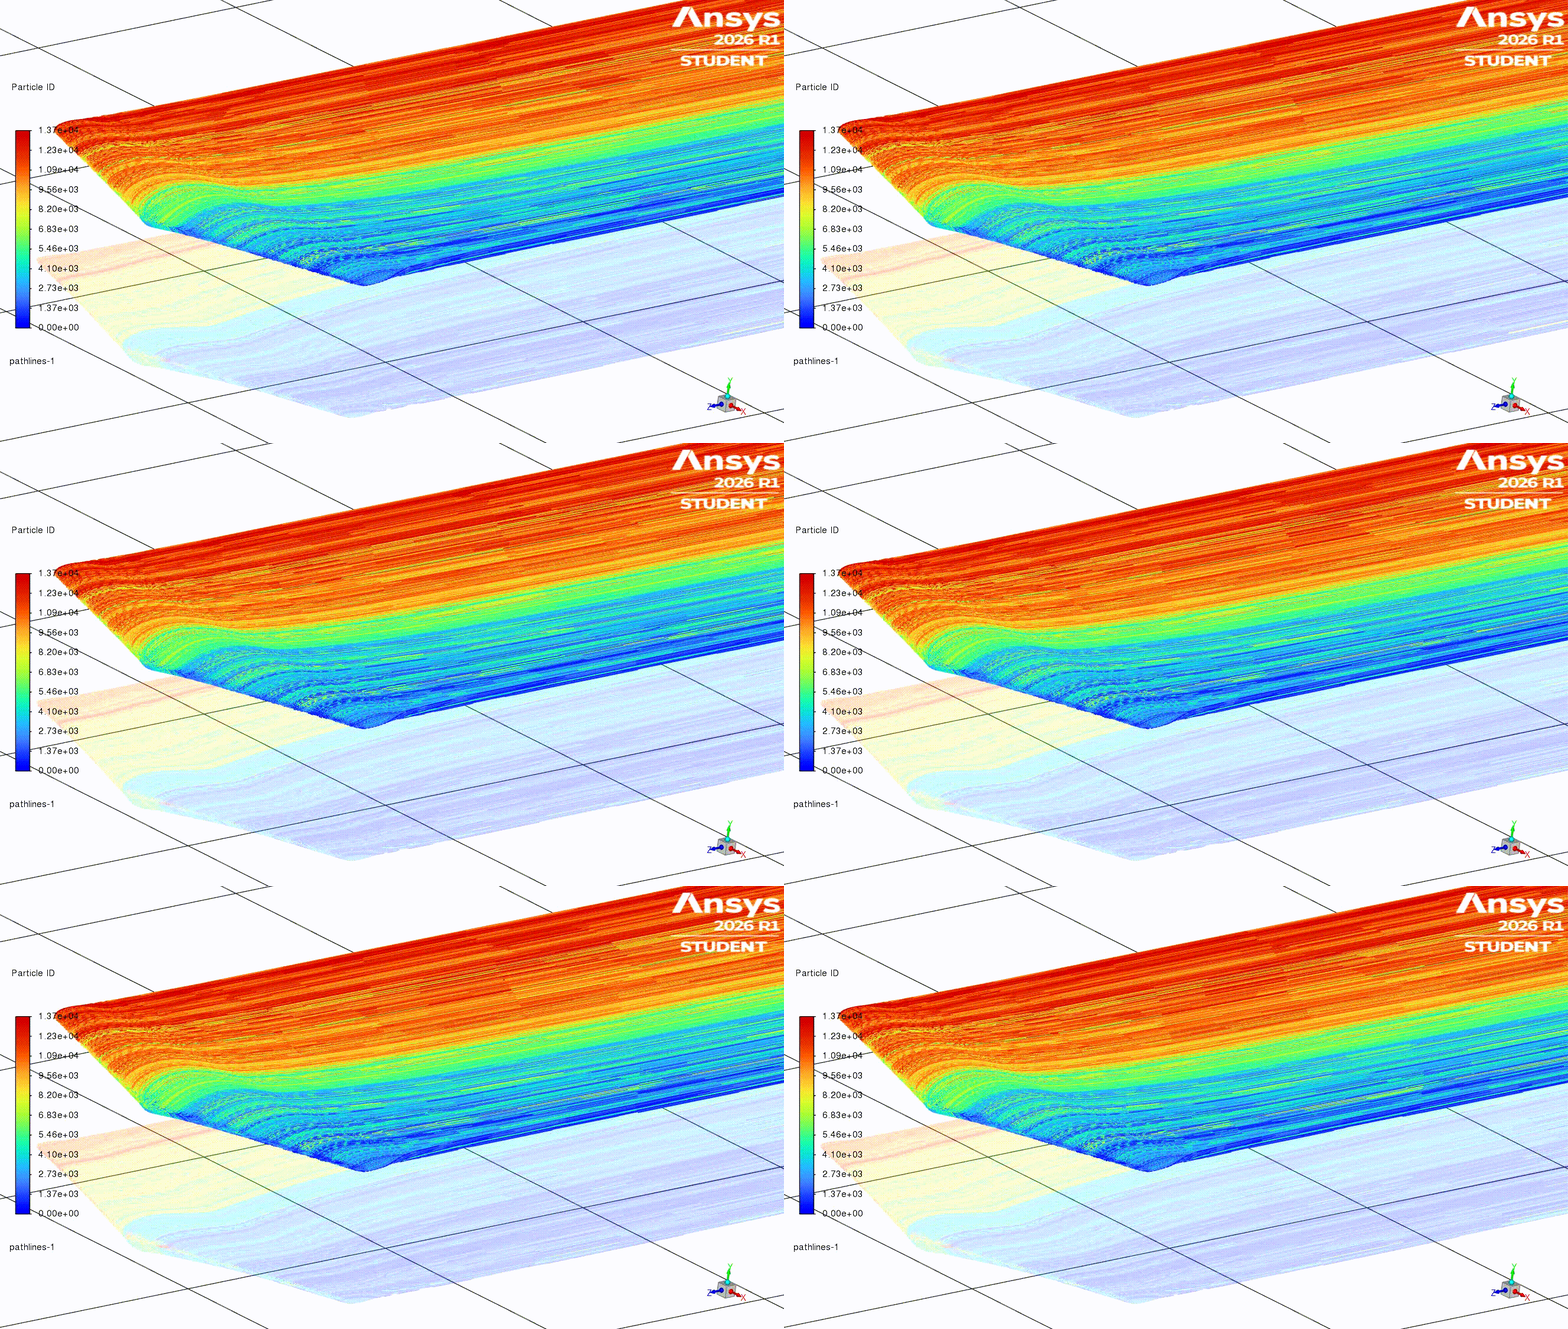
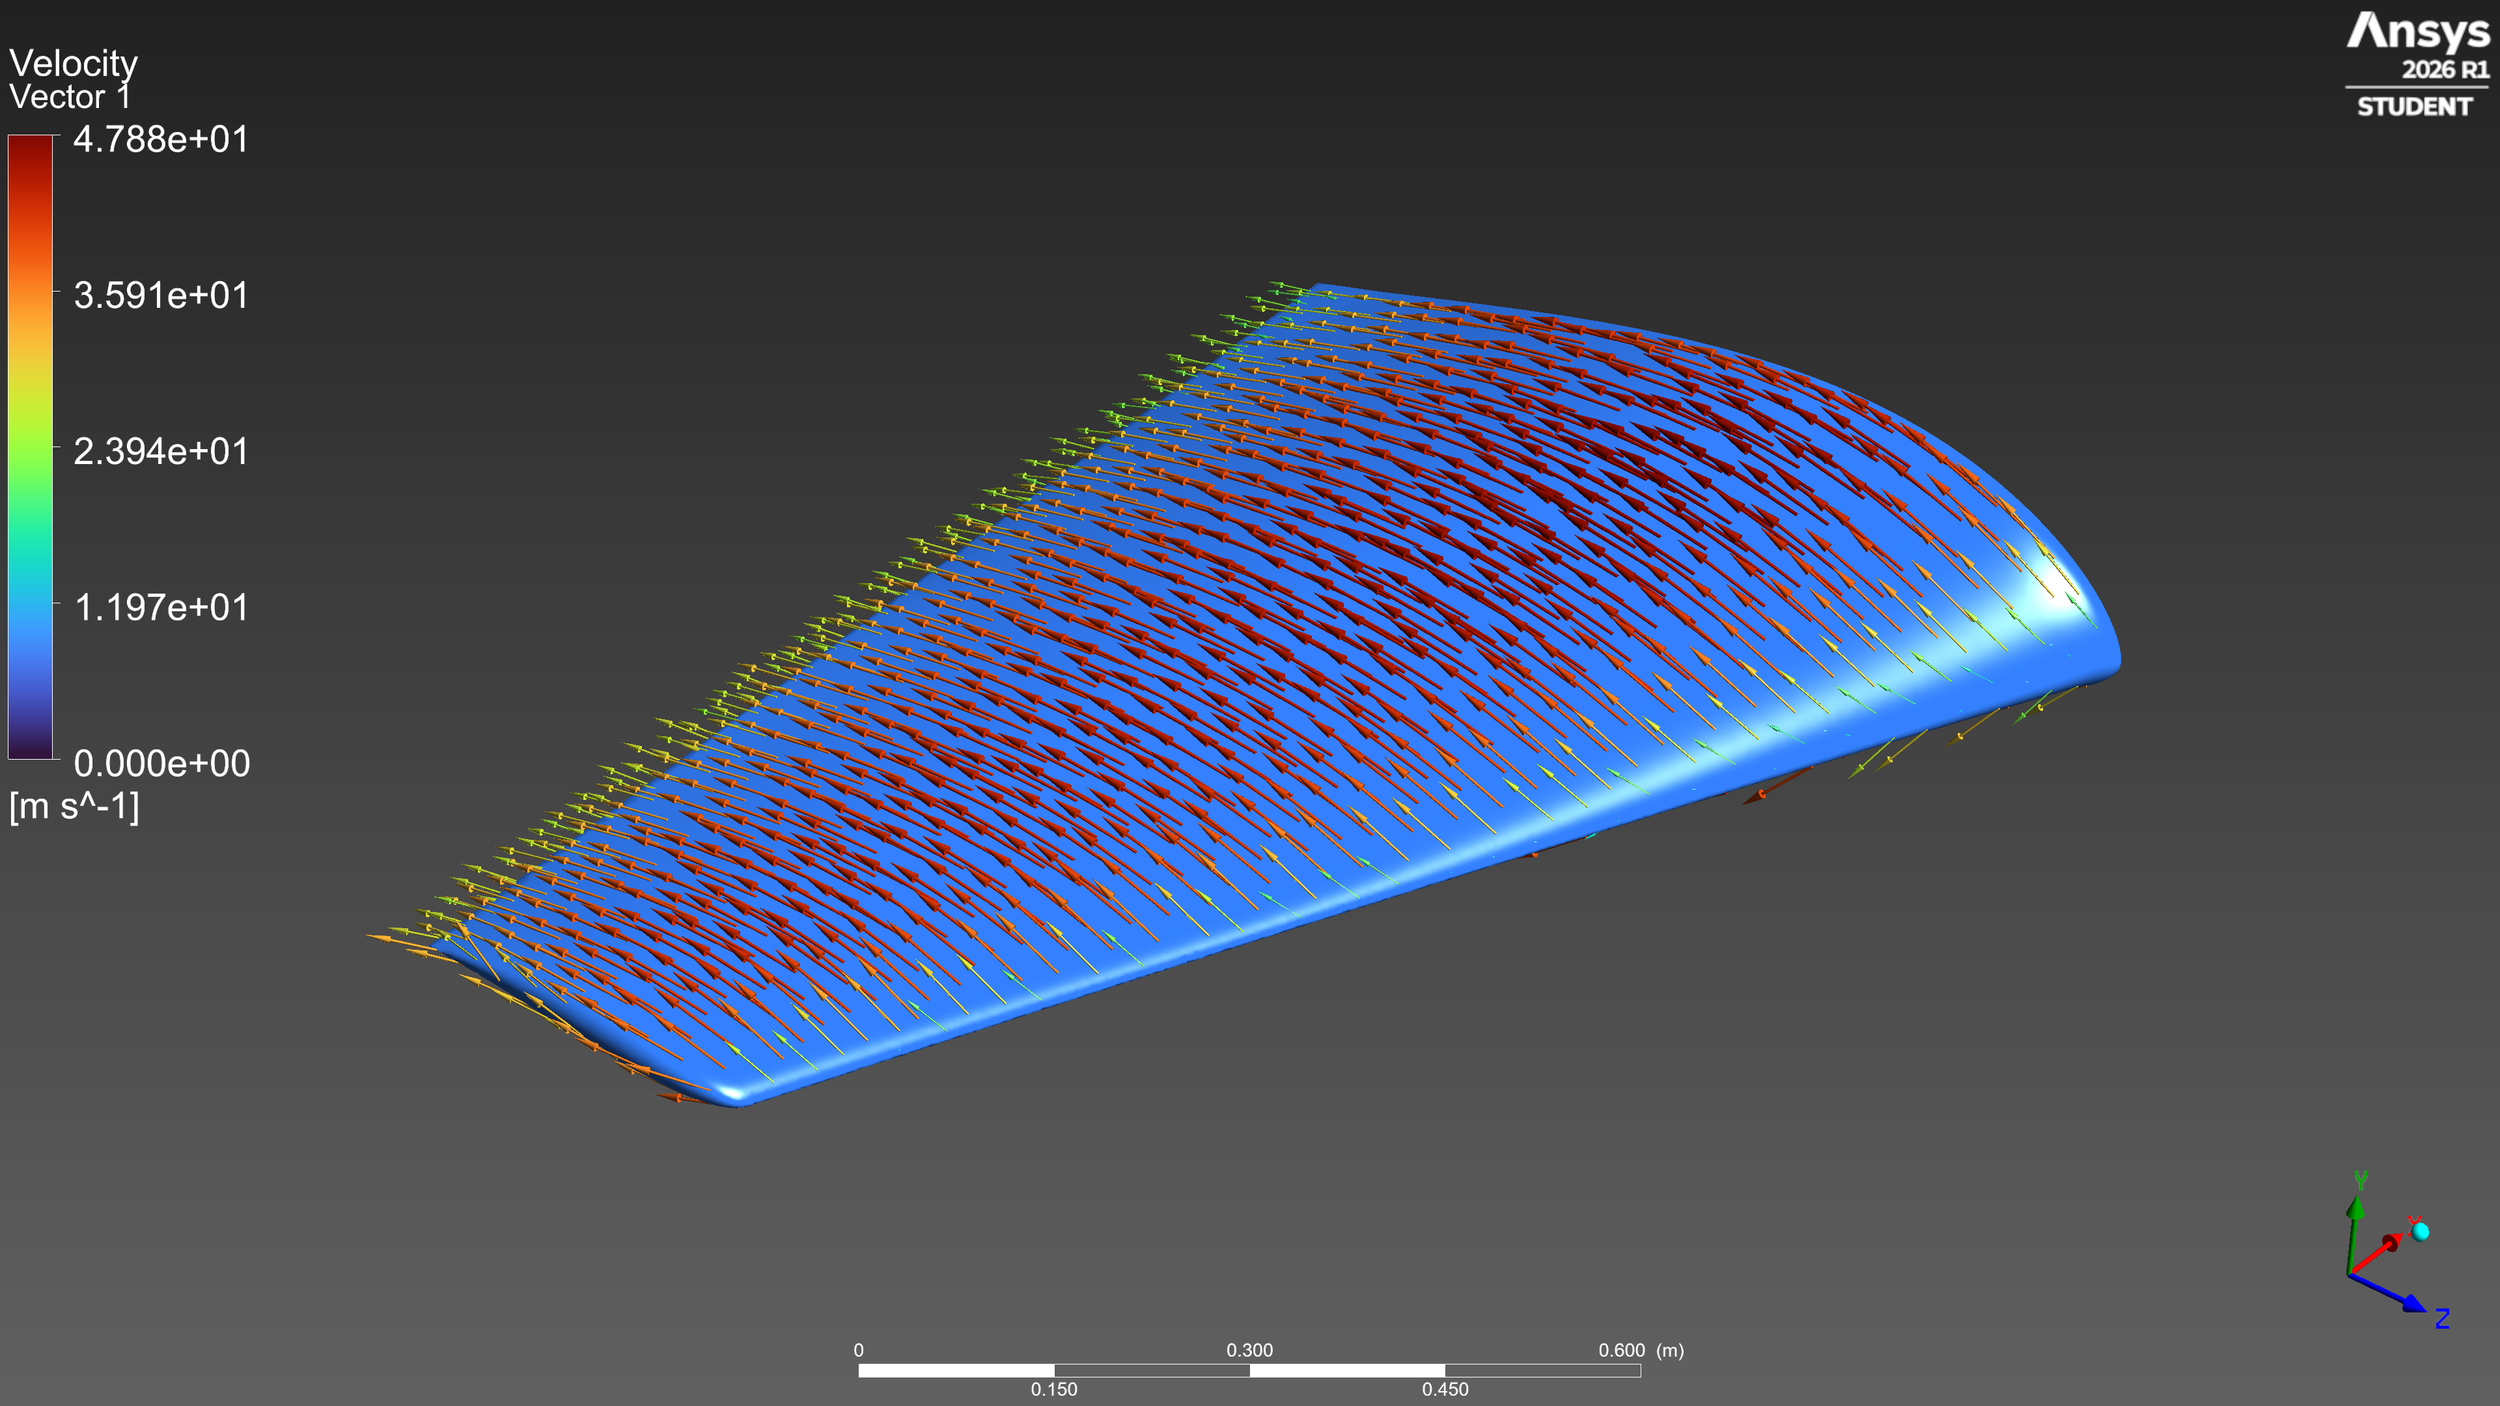
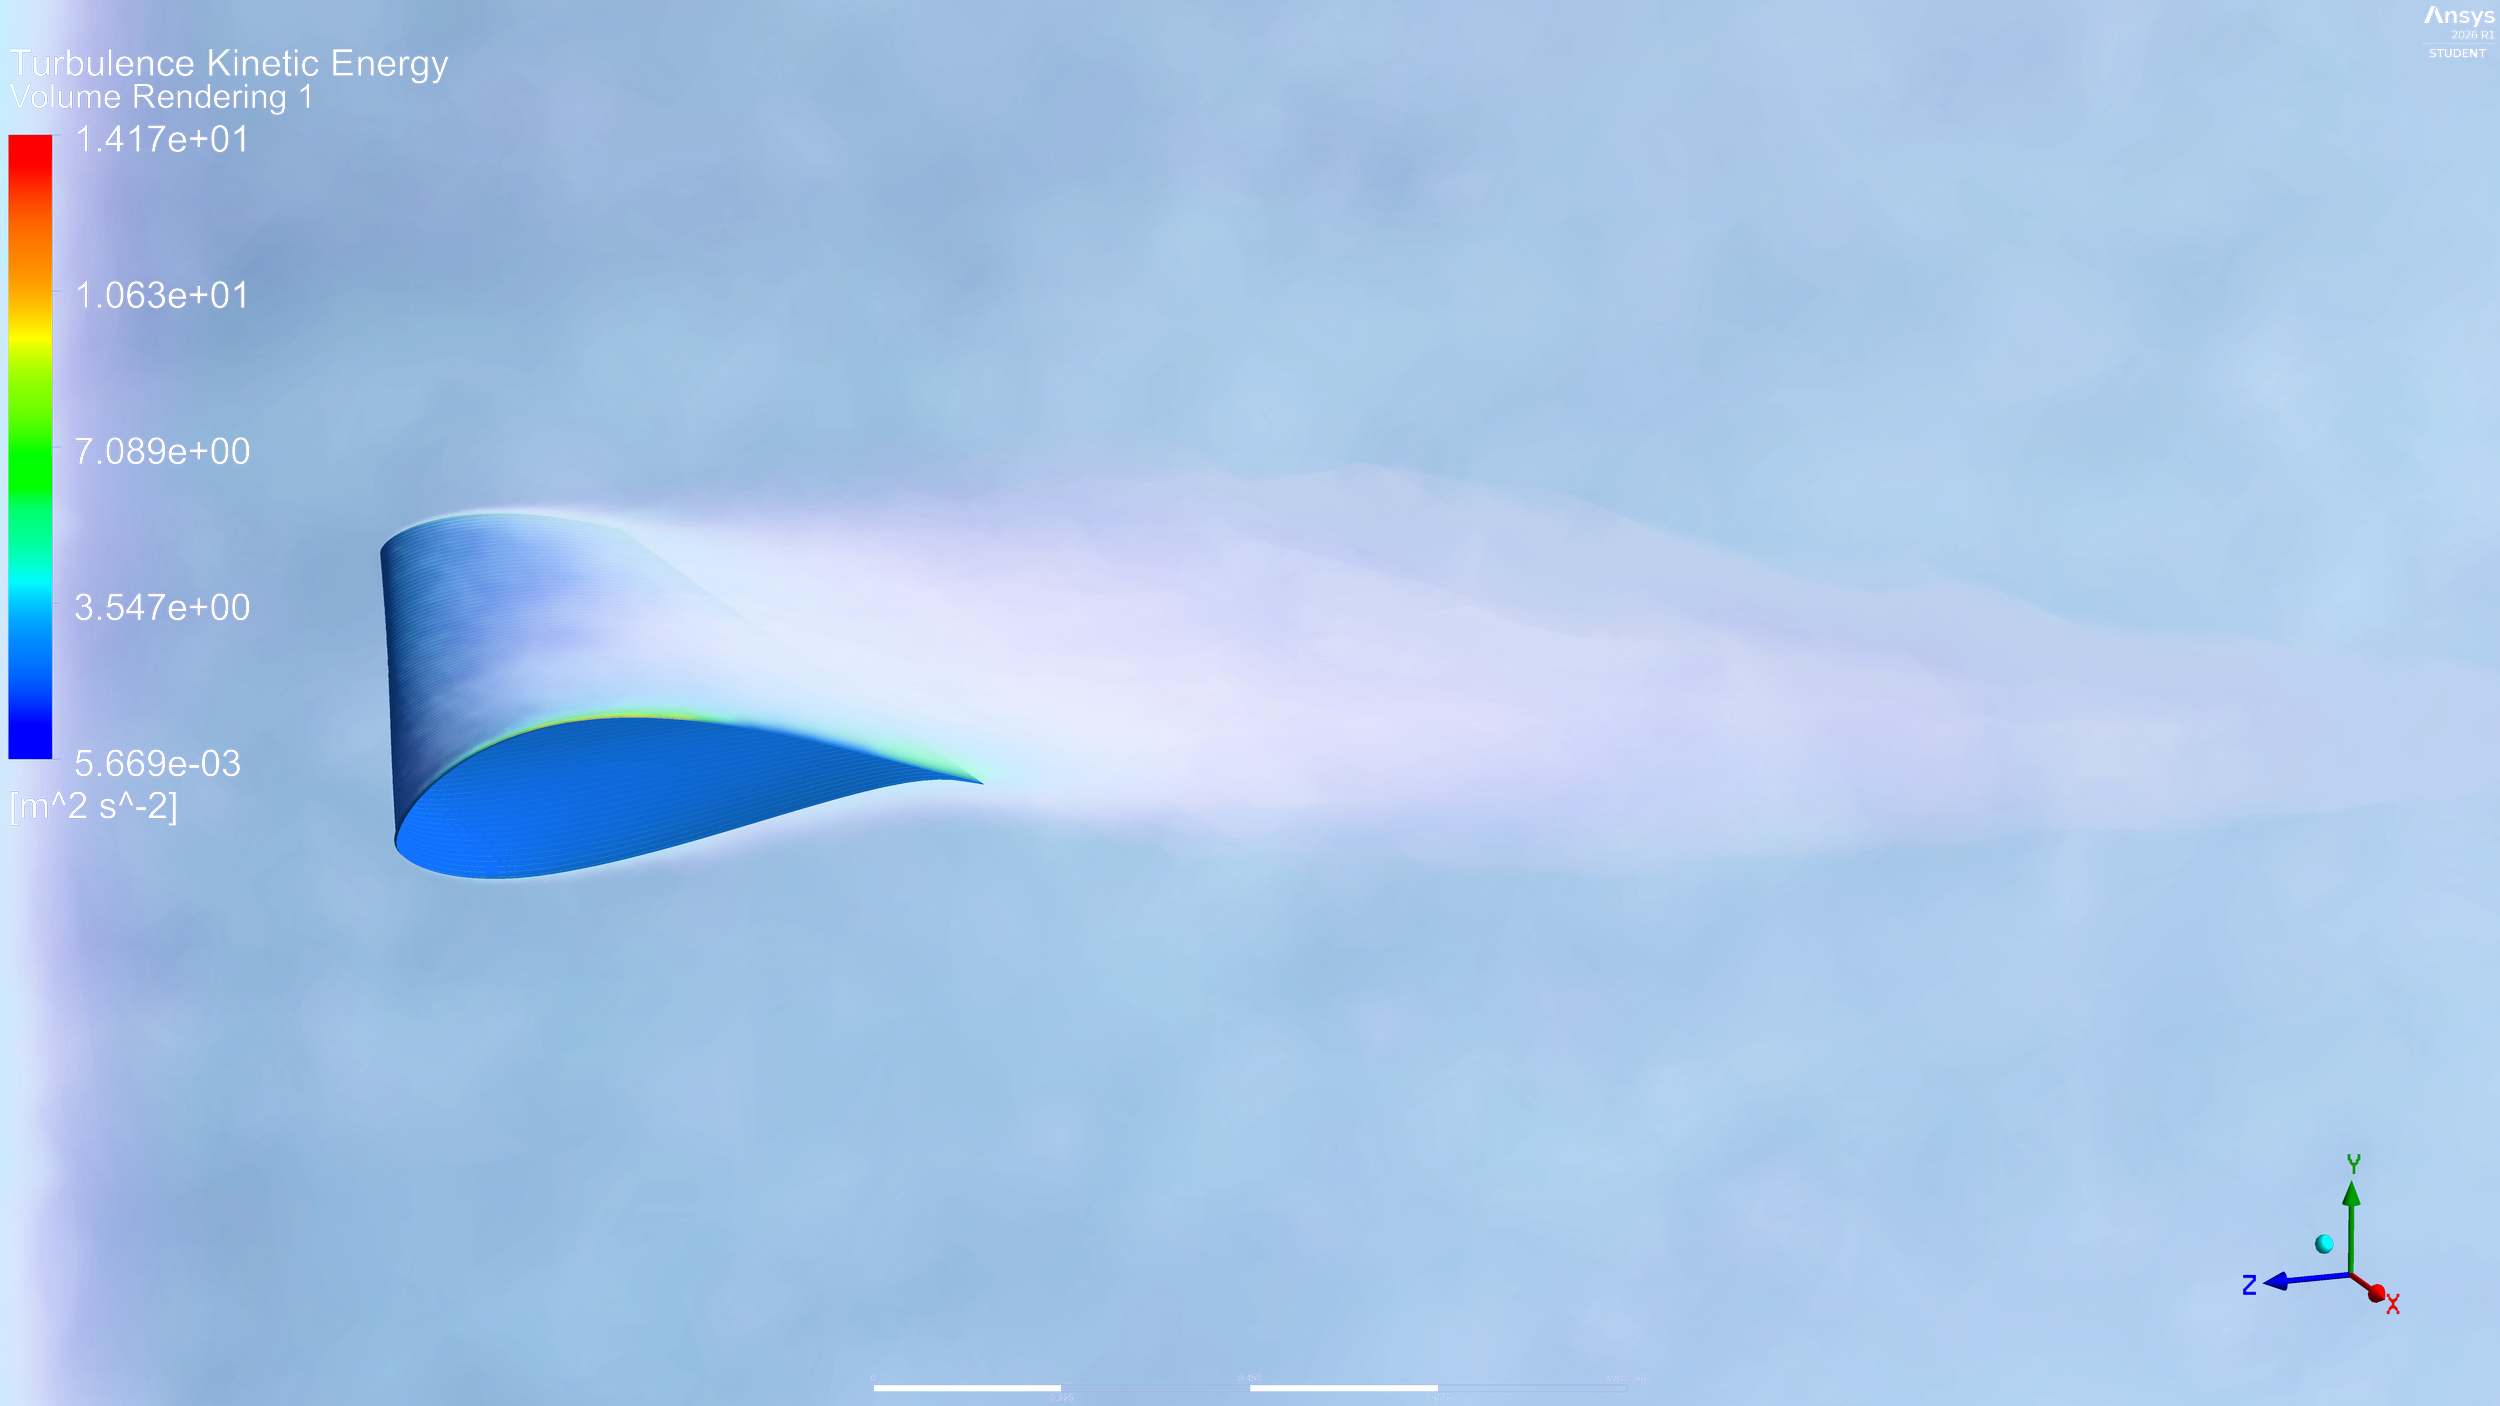
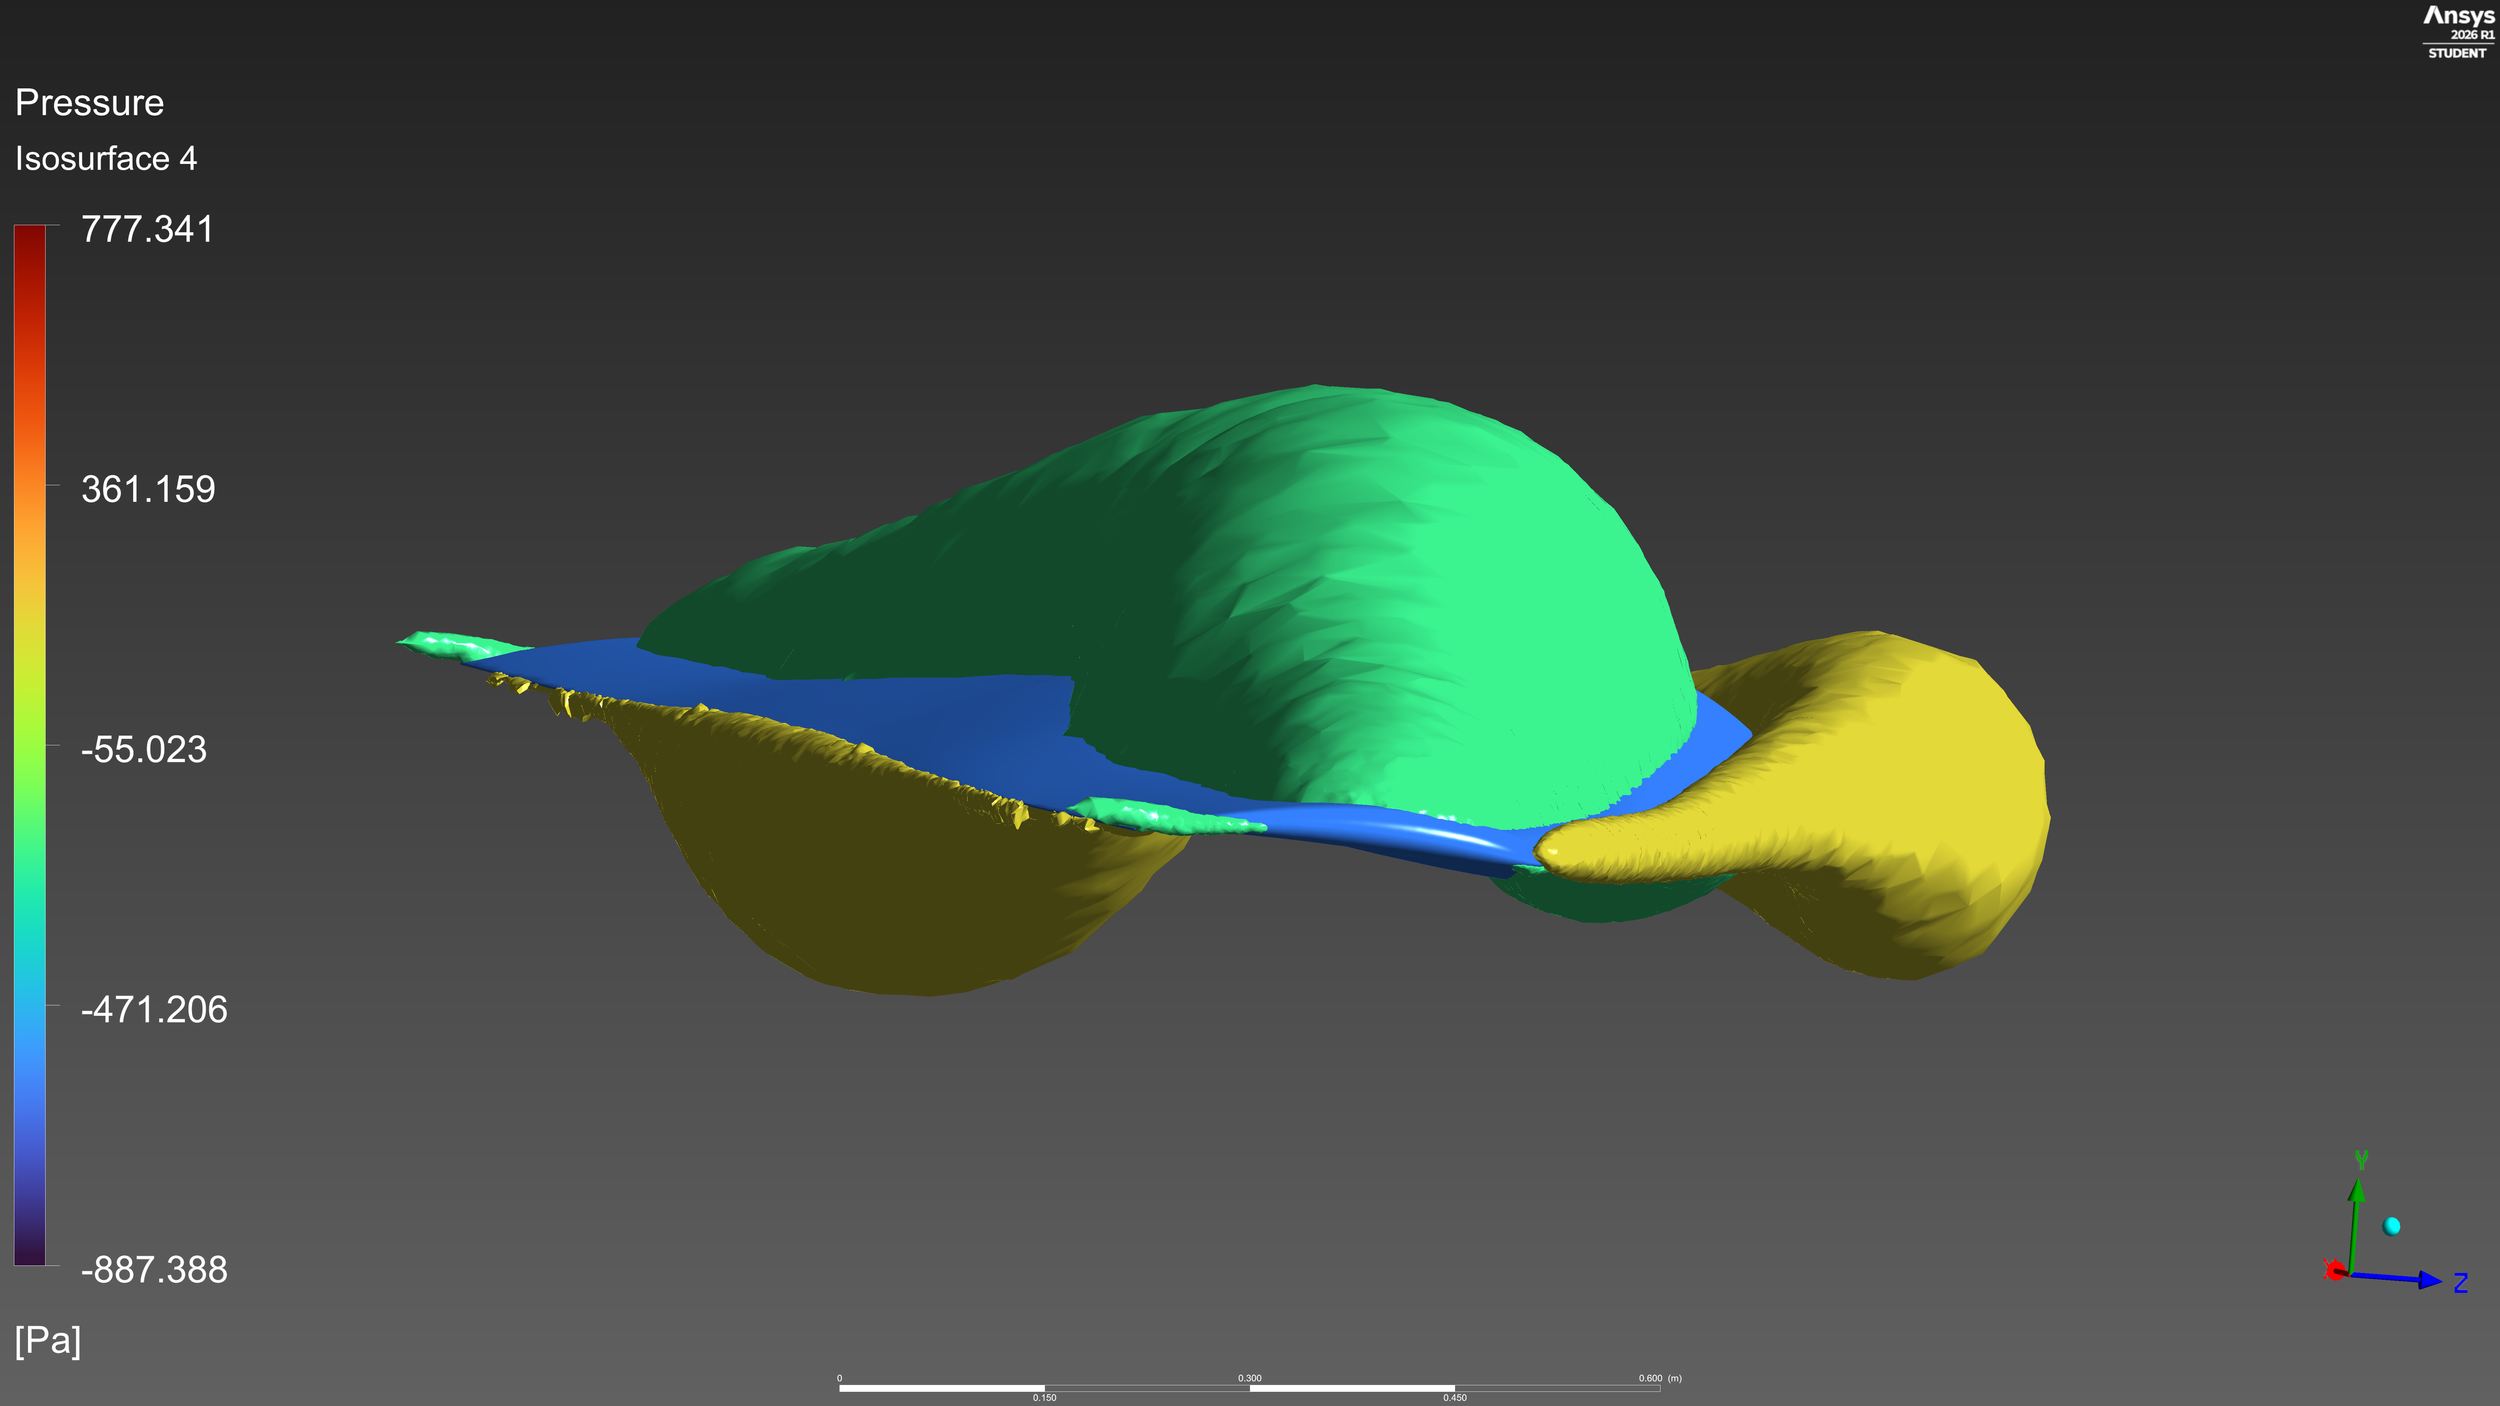
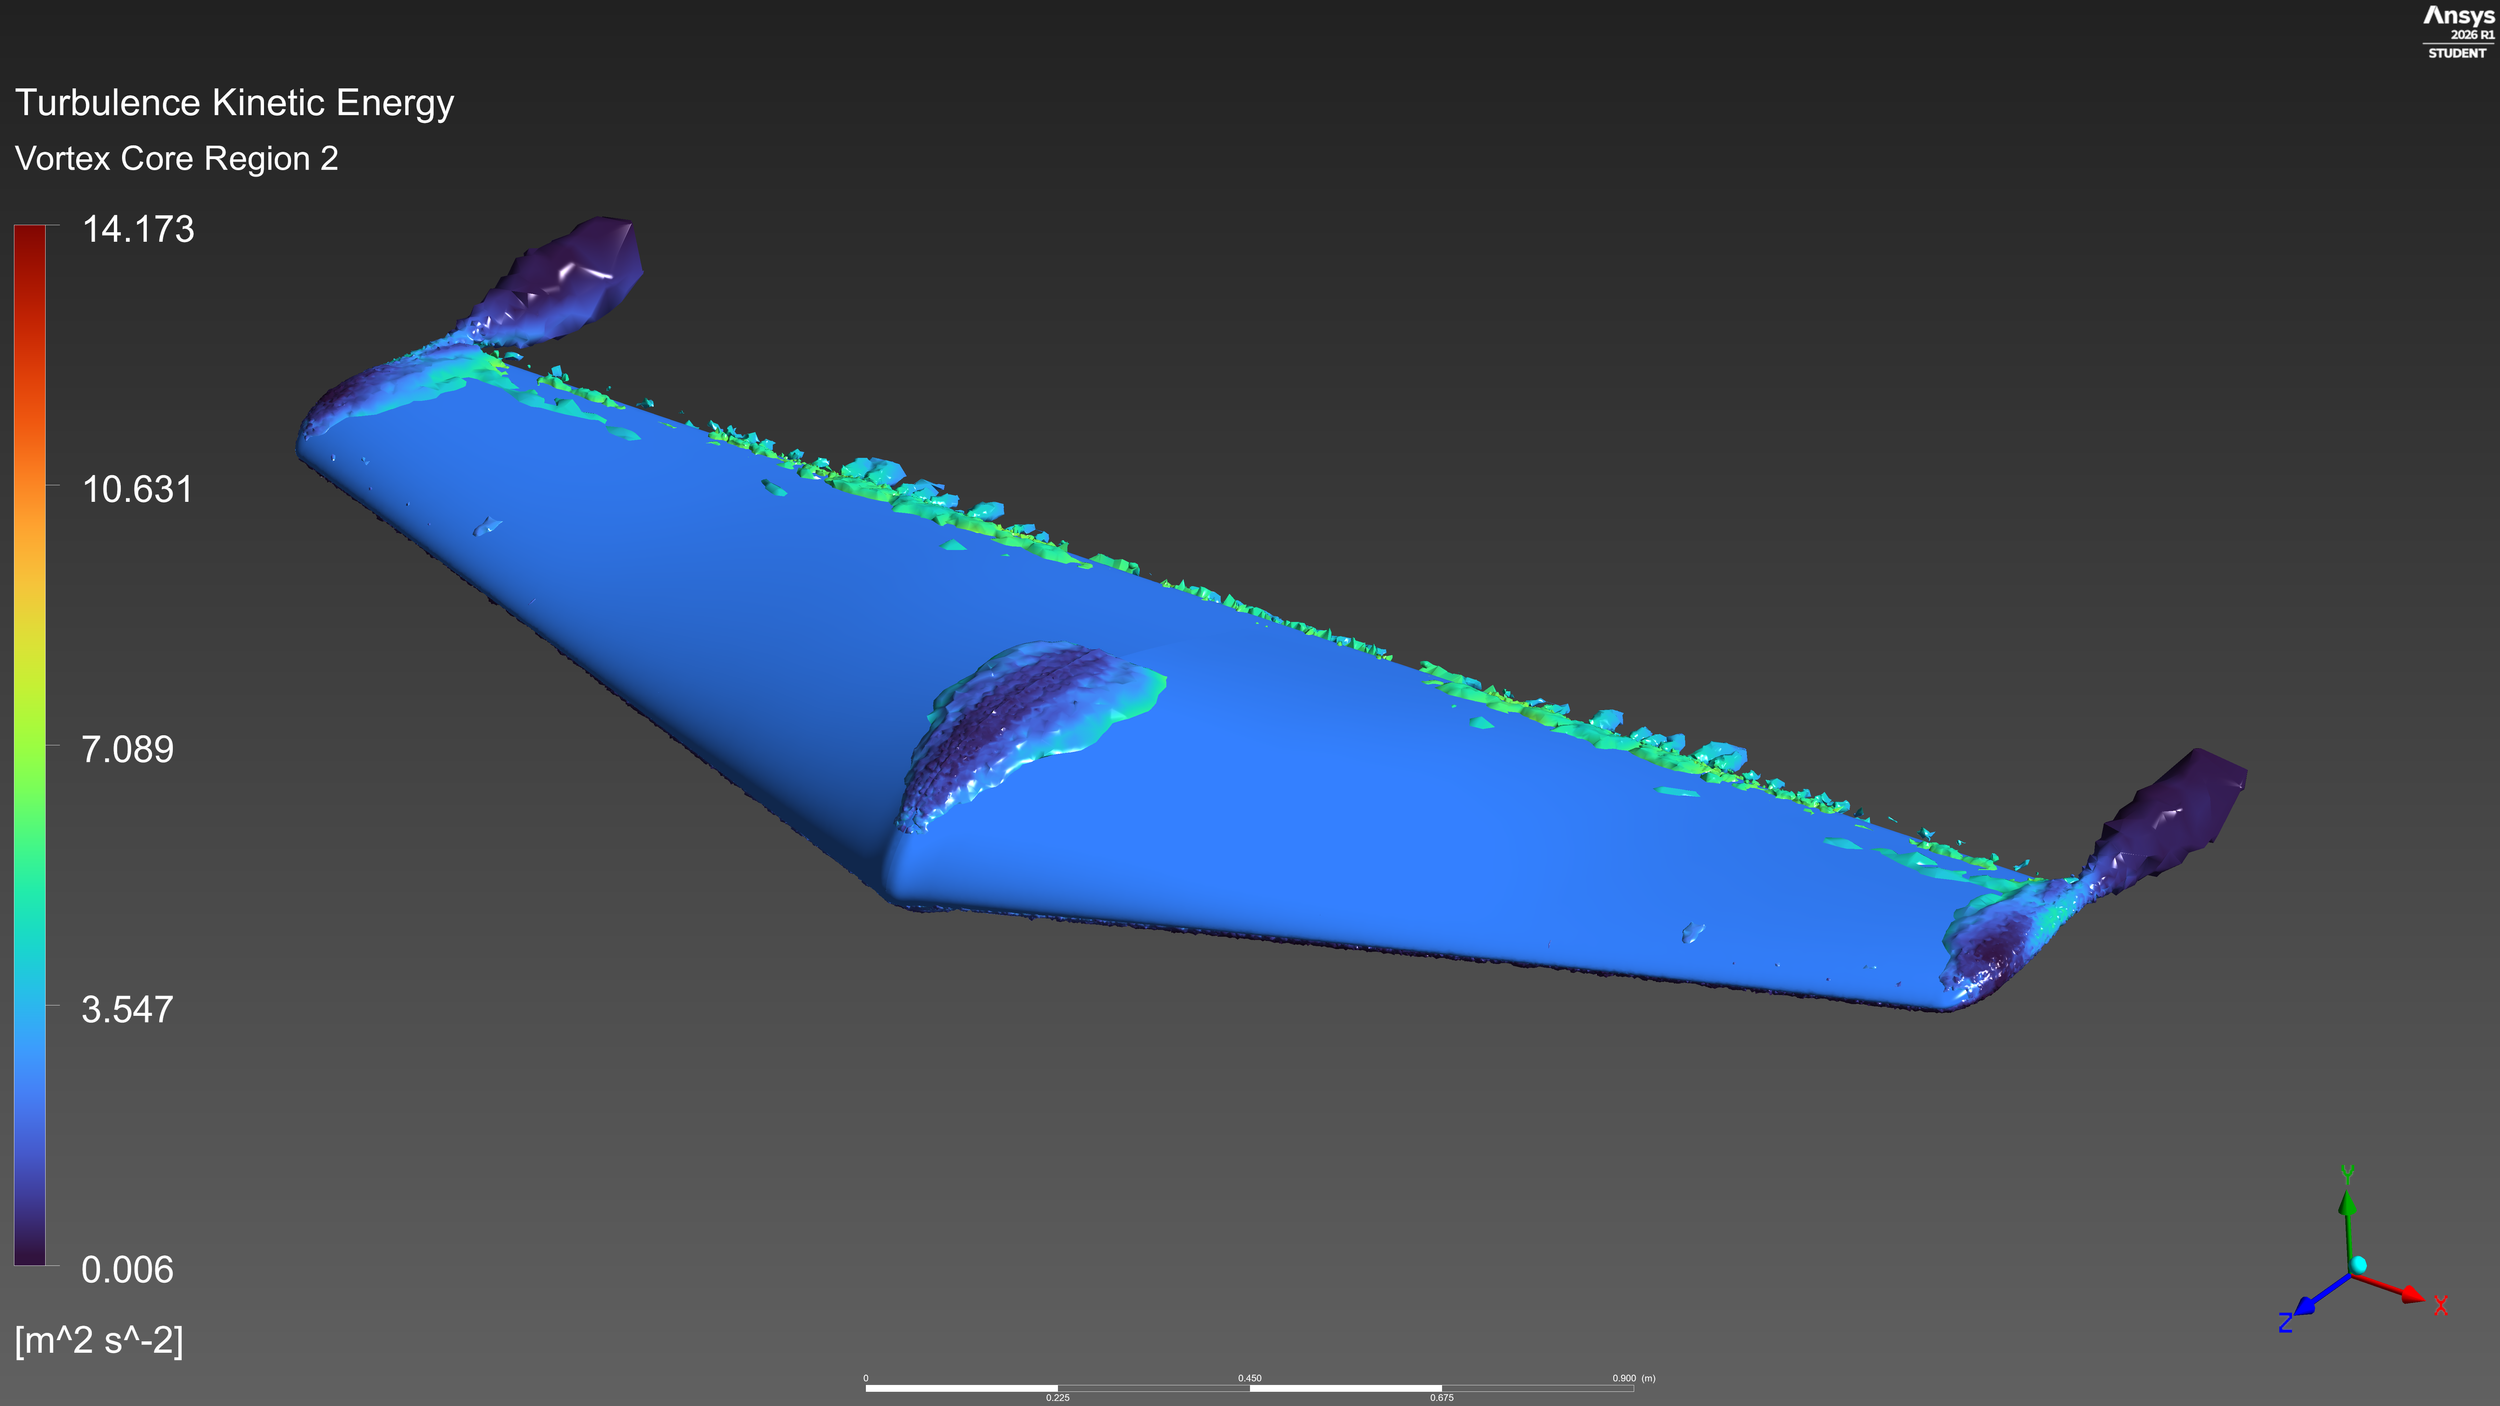
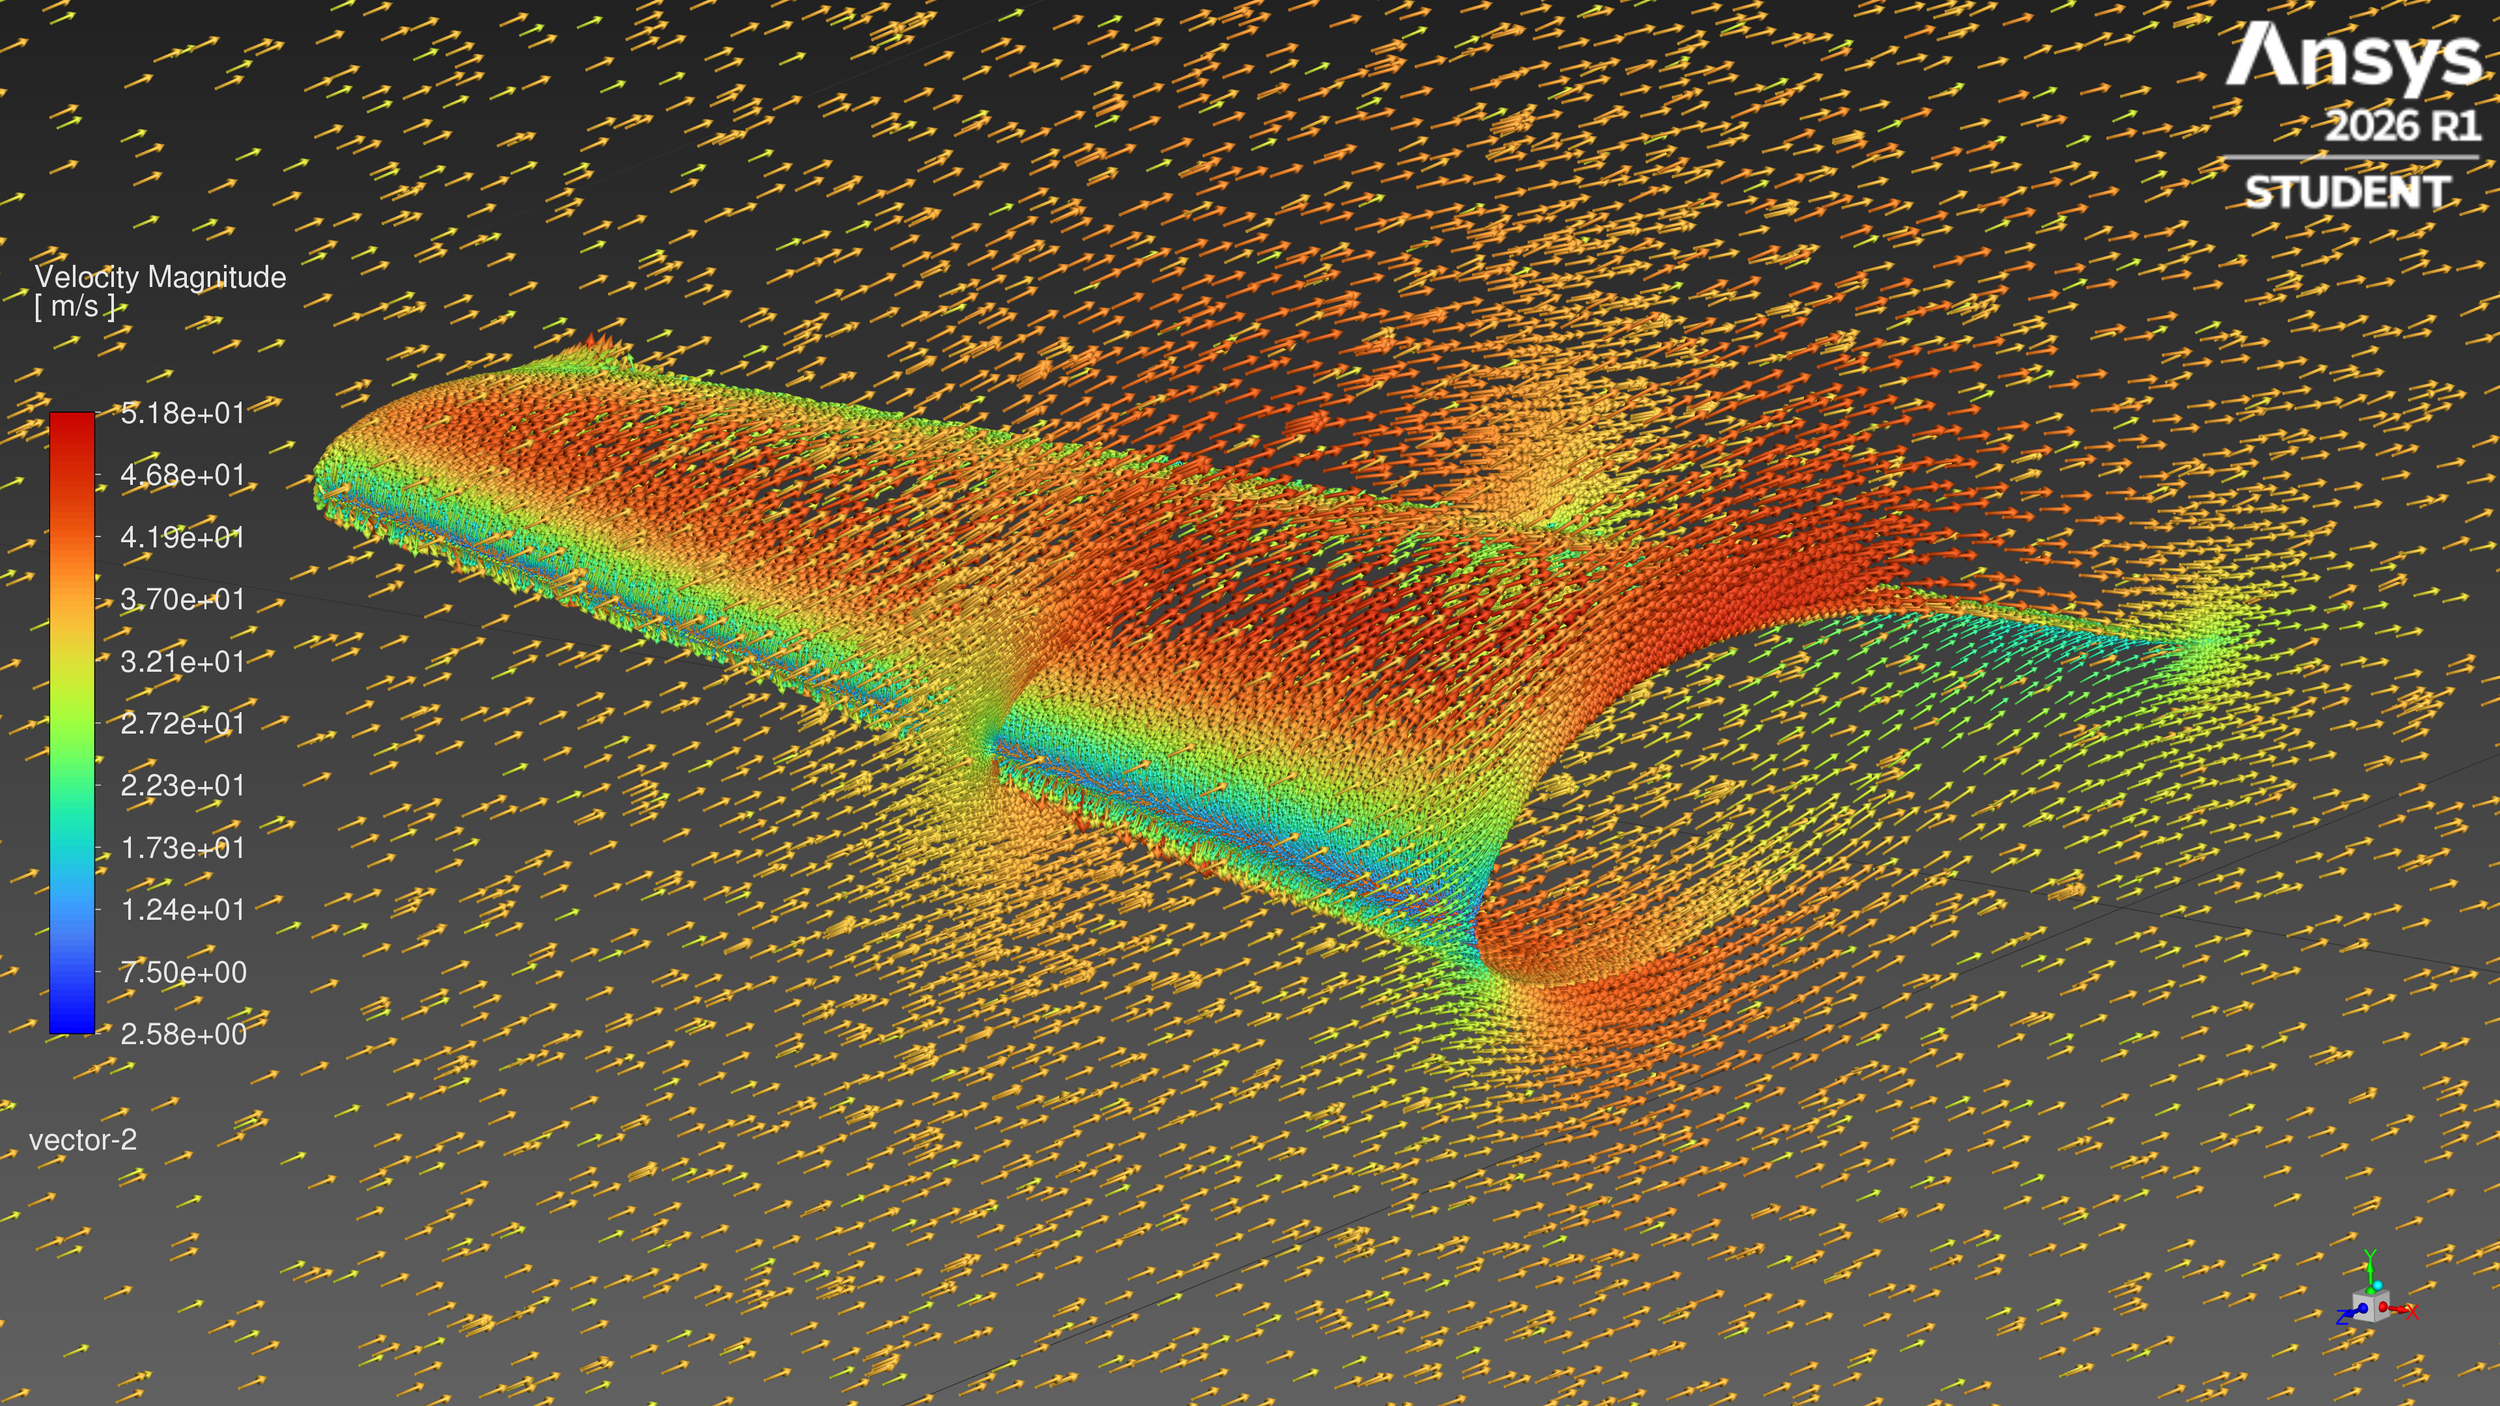
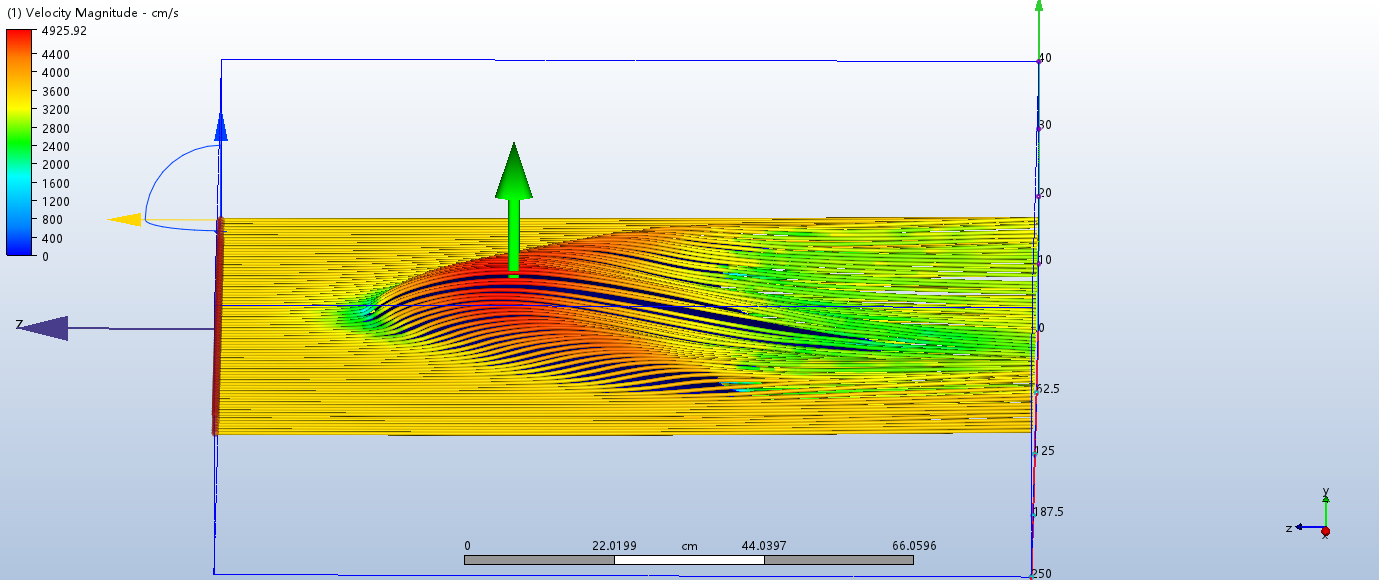
And that’s where the project… sat, for a while. And, where this portfolio page sat, too- which explains the beginning speaking about all 3 projects as failure. The project was unfinished, and had no satisfying conclusion. That is, until I decided to learn Ansys Fluent for a few team applications after I had gotten into McMaster. The Formula Electric team as well as the Aerospace team both use Ansys Fluent for their simulations, and I decided that learning it would be a good idea- even if I wouldn’t know enough of it to put as a skill, I could talk about my experience with it if I got an interview. So, I watched a few tutorials, and set up the conditions similarly to how I did for Autodesk CFD, and was frustrated by the slow-moving nature of Ansys’s stack. Nevertheless, I ran a simulation which worked extremely well the first try, and the results I extracted contradicted what Autodesk CFD provided me. The drag produced by the airfoil at cruise (the only tested operating point) was 1/3 of what Autodesk CFD predicted, while lift didn’t change much except for a slight ~10% increase. This skyrocketed the Cl/Cd ratio to 15.7, right around the ideal spot for a flying wing. Looking at the numbers, the aircraft should be able to fly at 0 degrees alpha, weighing 40kg, using a propulsion system that only needs to produce 1.3hp, or 1050W. I am still evaluating whether I should create a V4 for this project’s future, or if I should stick with V3, and that decision will likely come in Part 2 after some more intense Ansys analysis of the airfoil. For now, the renders I created from my Ansys Fluent run are below.
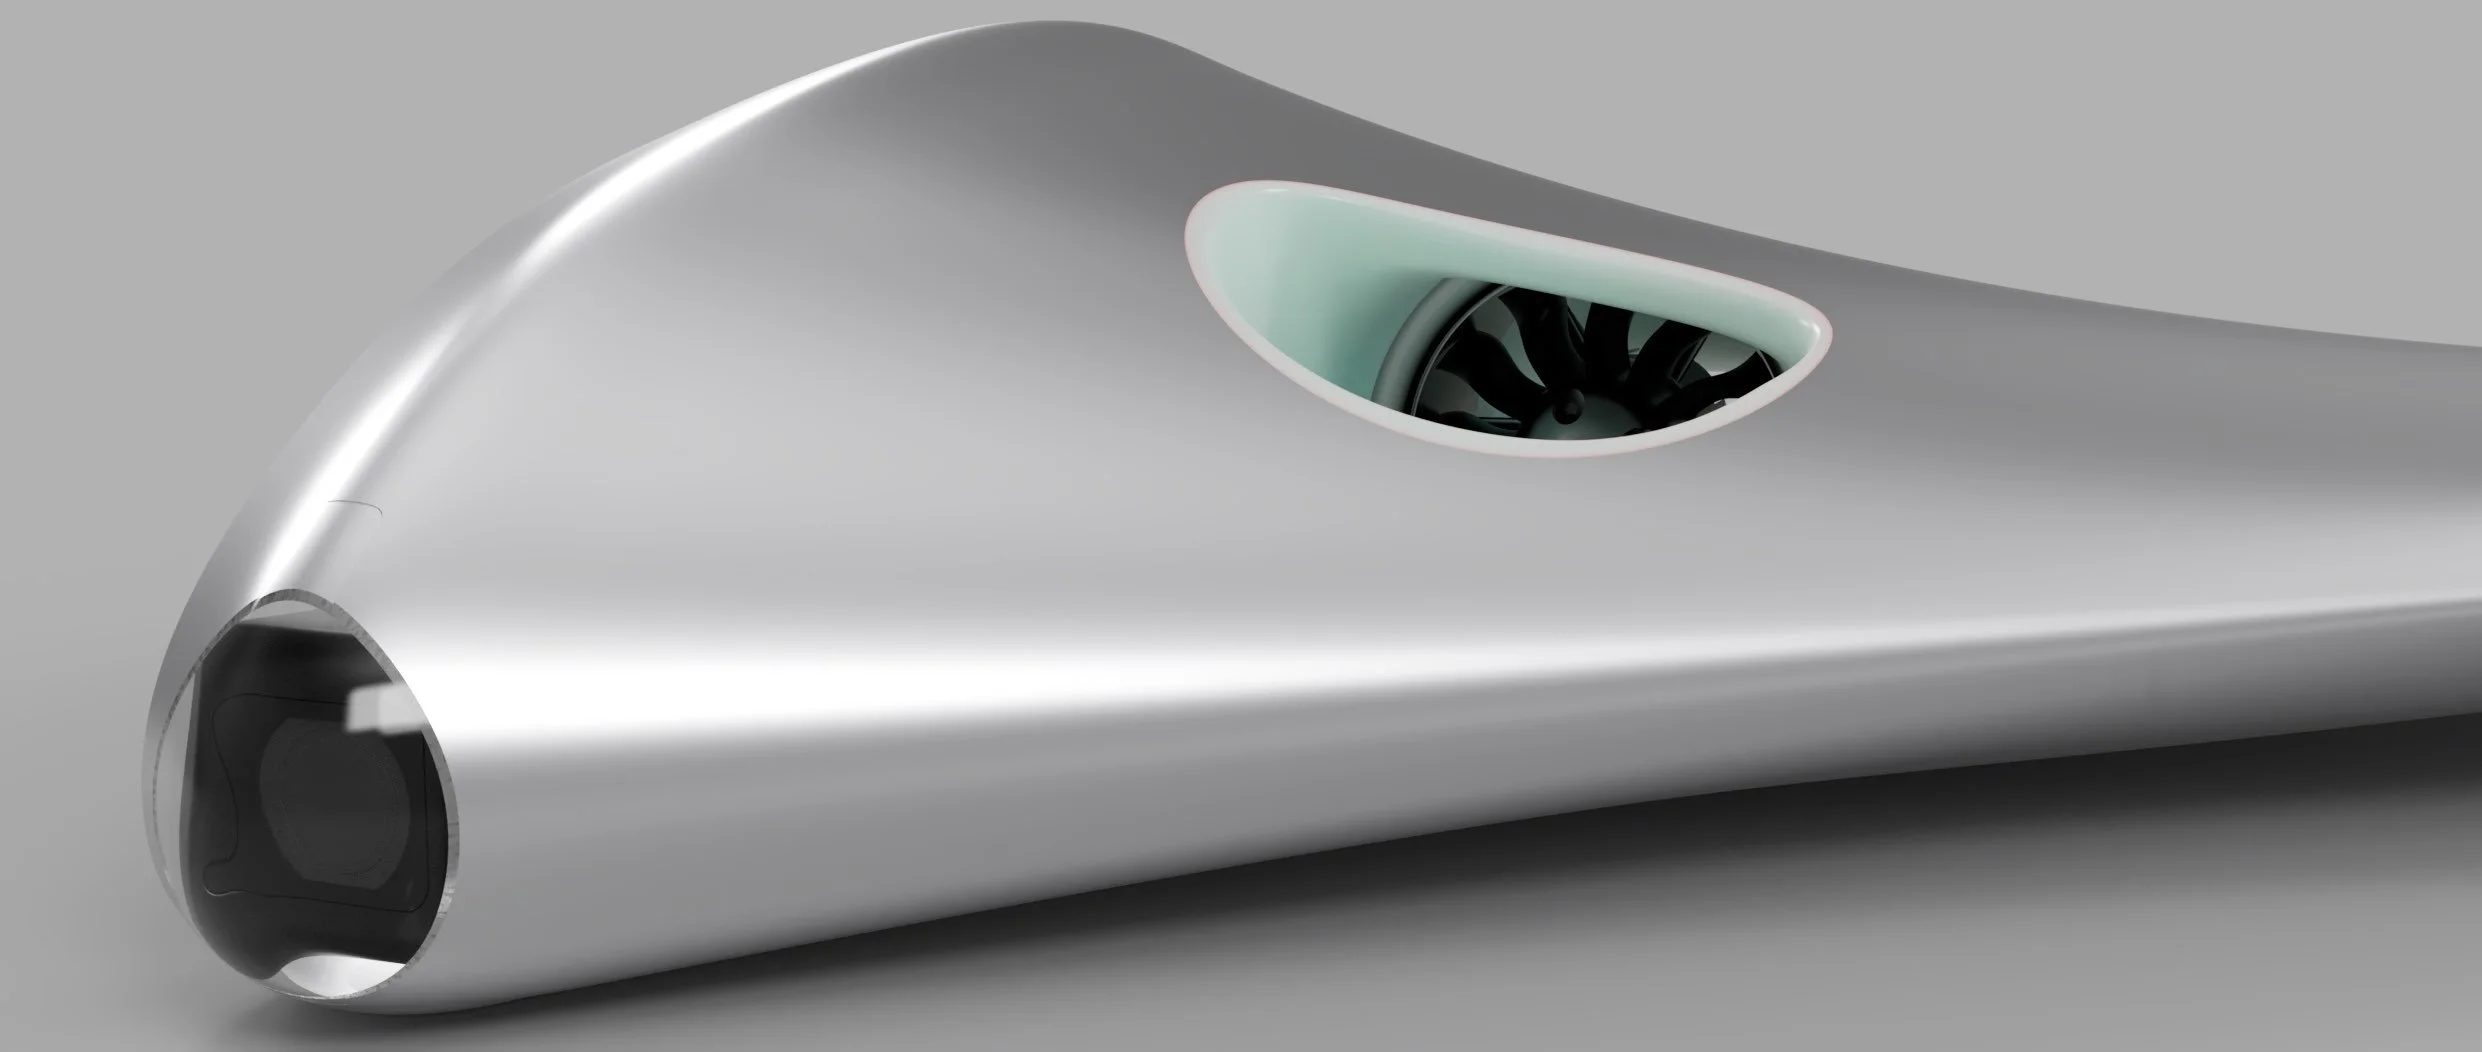
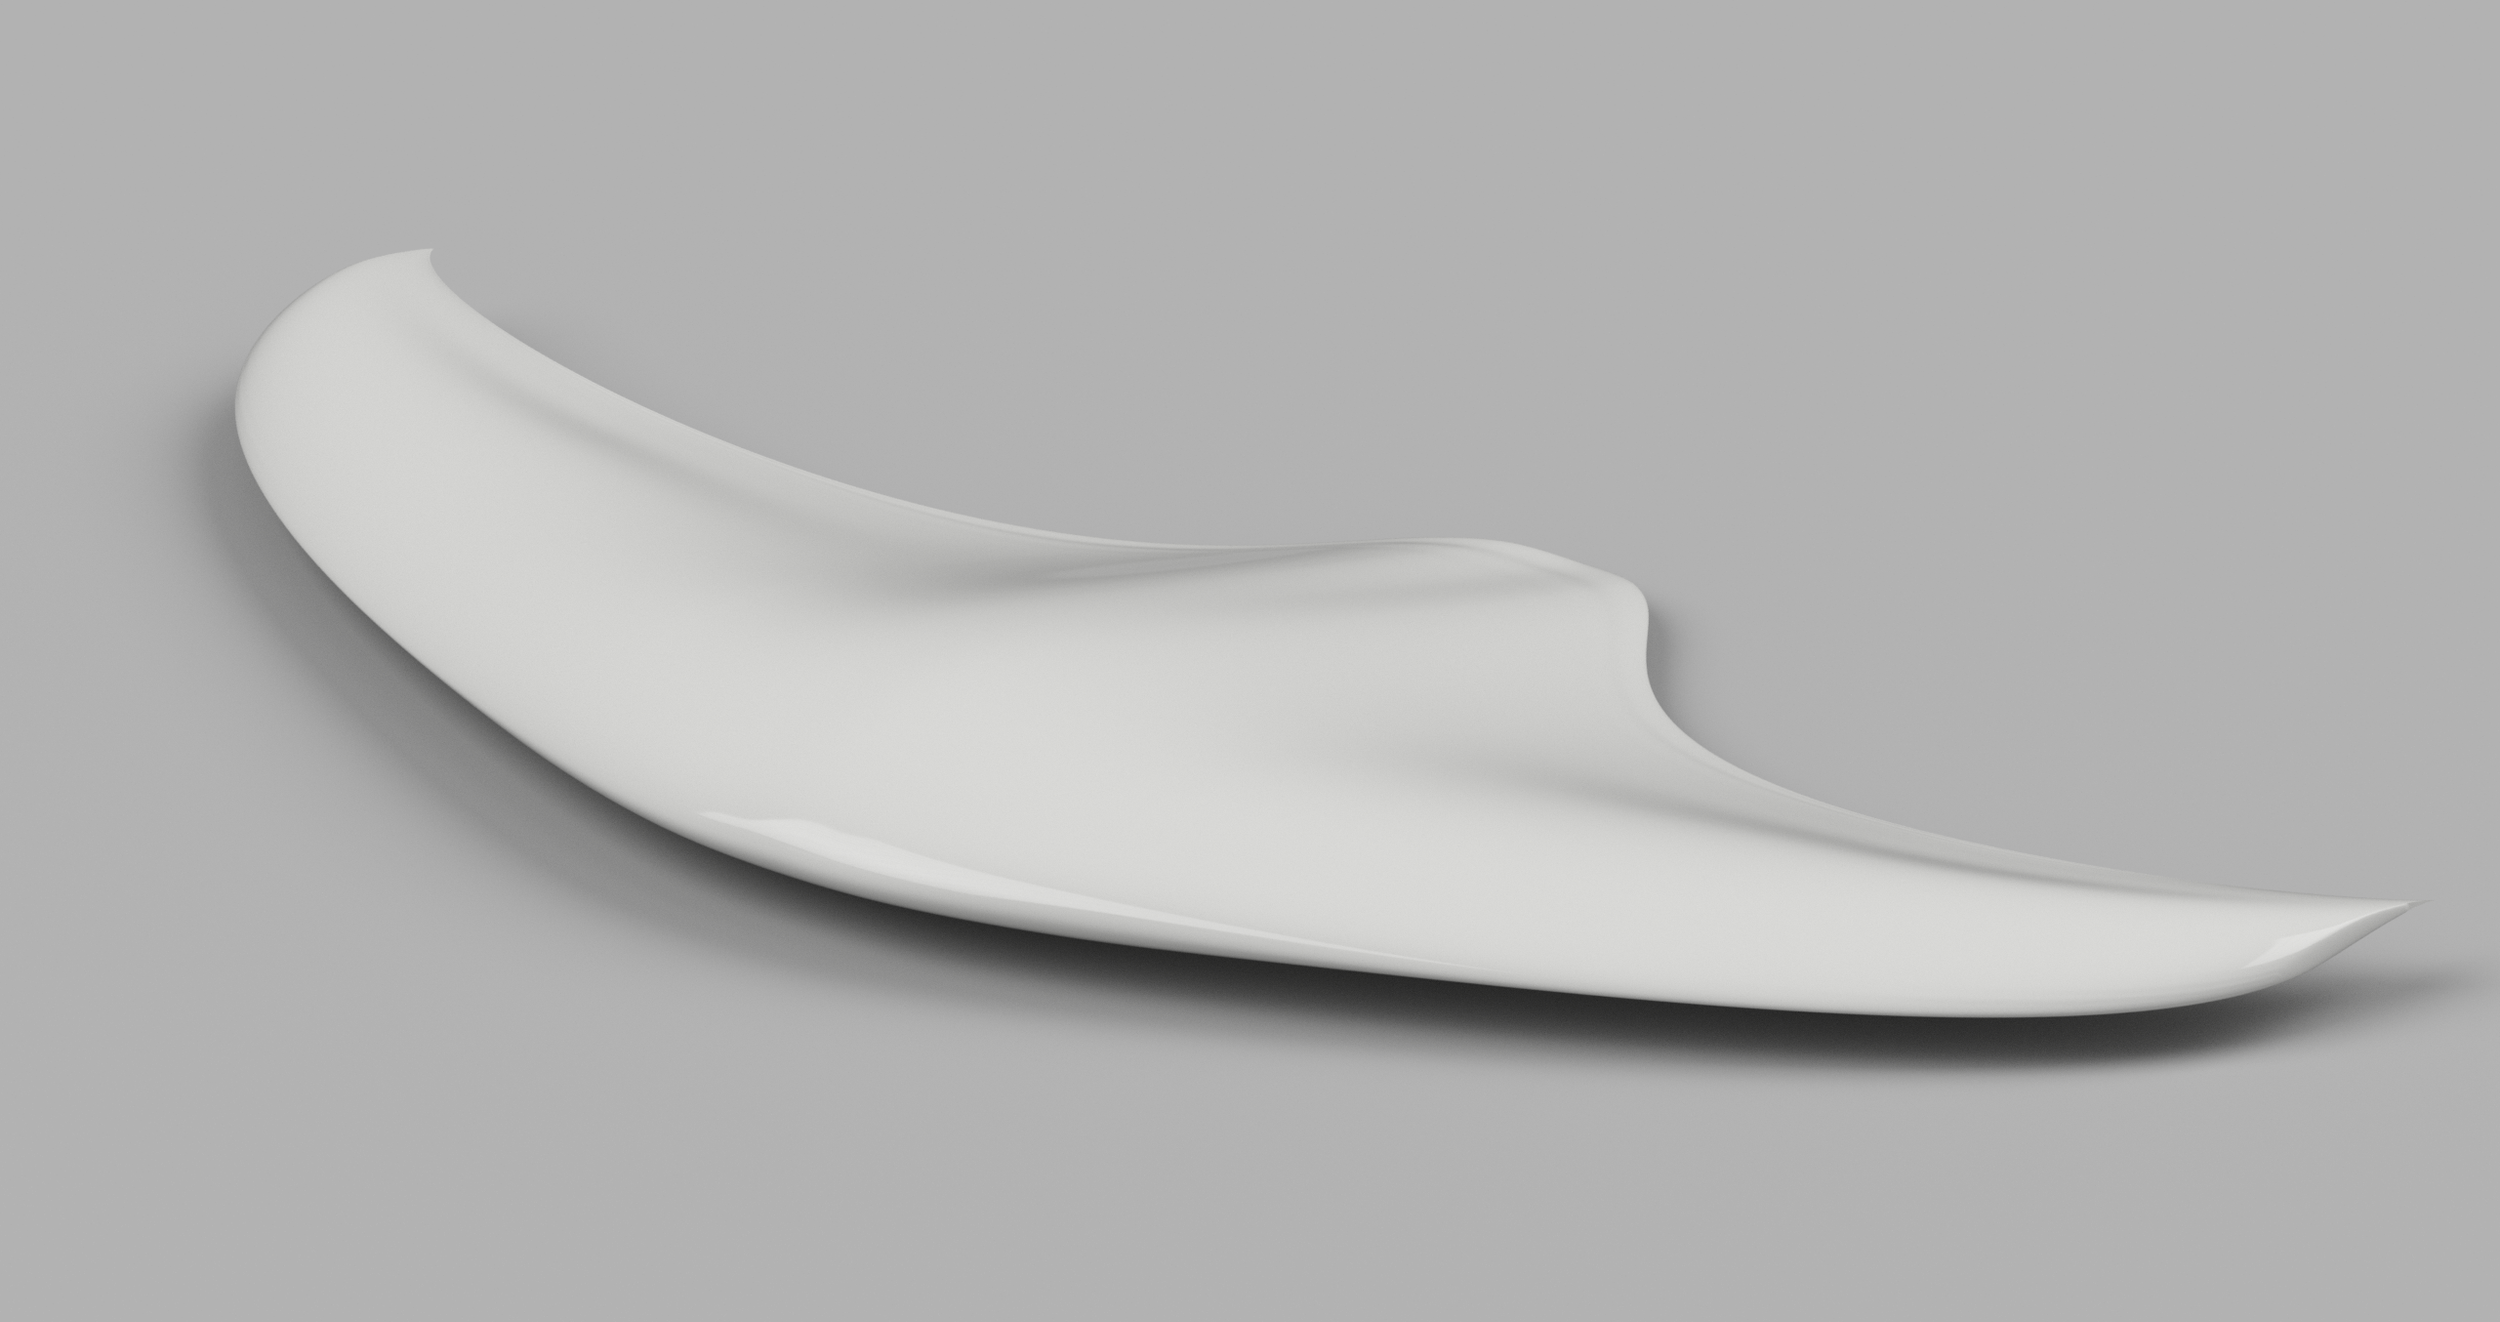
After running simulations on V1 and evaluating the design, I believed it would be best to fully restart the design from scratch, with an evolved methodology built from my mistakes and findings on V1. My main takeaways from V1 at this point were to evaluate the airfoils better individually. I believed that the individual airfoils caused the bad CFD results, and that I should evolve how I selected the airfoils independently. Moving on to V2, I would also ensure a run of an aerodynamic shell analysis- a CFD run right after I had completed the wings, with no ducts or breaks in the design- to see how just the wing selection would perform alone.
Selecting the airfoils for V2, I took around 3 possible options per airfoil section, keeping the 4 sections from the previous version. I compared each one, using a more in-depth per-airfoil analysis, comparing them with the other possible airfoils. For the fuselage, the only 2 main airfoils given serious consideration were the Davis Basic B-24 airfoil, and the Prandtl-D root airfoil; of which I chose the B-24 airfoil due to its lower Cd (at the given Reynolds number), better Cm characteristics, and smoother Cl/Cd graph, with a higher max Cl, even despite not having a great Cl or Cl/Cd ratio at cruise. Another main consideration was thickness, and the B-24 airfoil was slightly thicker than the Prandtl-D root airfoil, giving more space for EDFs between the center fuselage and wing root loft. With the wing root, I also decided to keep the B-24 airfoil, as the airfoil has relatively simple yet effective geometry, and would also be extremely strong for a wing root section. In my analysis of these airfoils, I also wrote about the transition geometry and how keeping both airfoils the same would keep the transition clean, but I did not yet weigh this transition highly enough compared to the individual airfoils of the wing design. After the root airfoil, the midwing airfoil selection came down to four major contenders- the Eppler E397, Althaus AH 95-160, Althaus AH 81-K-144/17, and Wortmann FX 76-MP-140. Between these four options, the AH 81 was chosen. It has great Cm compared to the Eppler and Wortmann airfoils, and compared to the AH 95, it has a much closer to 0 Cm as well. Beyond that, it has a slightly worse max Cl than the AH 95, but widens the alpha envelope by 3 degrees before stalling. The AH 81 also should have a reasonable transition from the B-24 airfoil, and maintains good characteristics to low Reynolds numbers, which the others can not due to the same degree. For my wingtip airfoils, I wanted to add slight washout, to promote the root-first stall behavior necessary for the wing. The selection came down to 5 options, including a windmill airfoil, but otherwise similar airfoils to the midwing selection. For the wingtip airfoil, I chose the Eppler E395; all the graphs for the airfoils were pretty similar at the same alpha, although the windmill airfoil- a Selig S4022- was slightly more robust, with a wider alpha envelope. Despite this, however, the E395 was the airfoil with the most favorable, non-erratic behavior at negative alphas, which is where the airfoil would likely be at cruise.
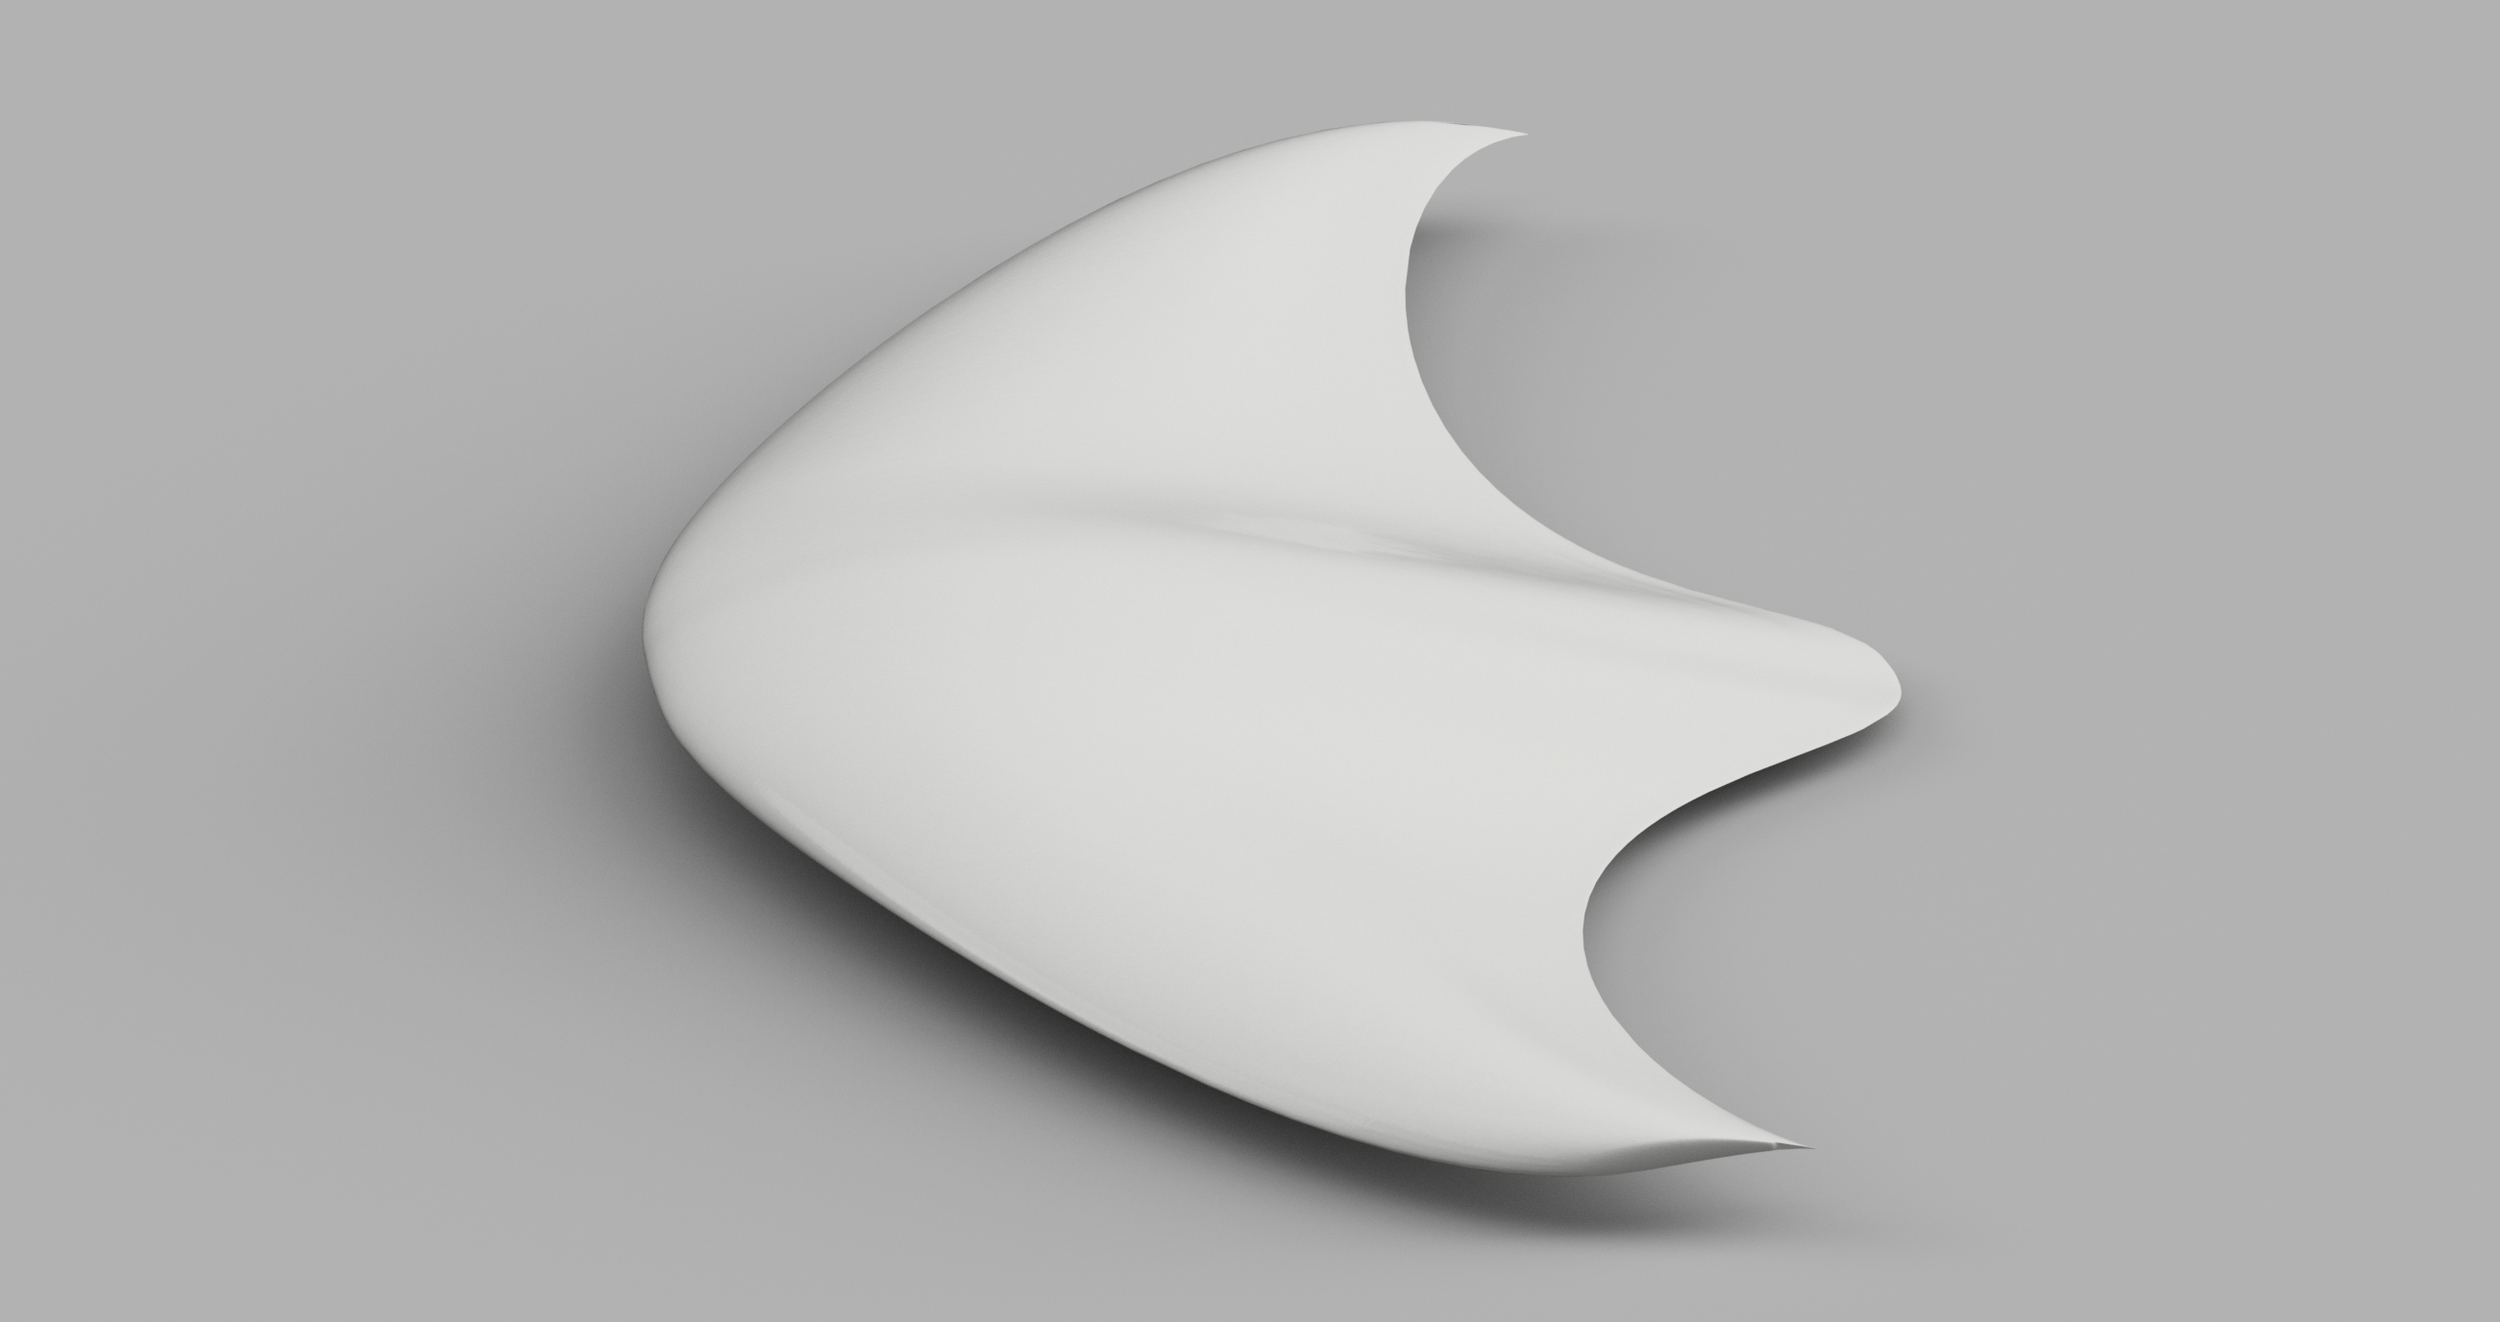
After selection for the airfoils, I brought them together to form a clean aerodynamic transition geometry, resembling a boomerang. For this version, I removed the sharp frontal transition seen in the first version, and kept the entire aircraft very smooth. For the airfoils specific rotation, I gave the fuselage and root airfoils a 3 degrees upward tilt while the aircraft is at 0 degrees alpha, and gave the Eppler 3 degrees washout; meaning a 6 degree transition between the root to the wingtip airfoil. Despite my hope of a cleaner, more predictable transition; and my better methodology in individual airfoil selection, as well as my angling of each airfoil, the aircraft’s aerodynamic skin still performed badly. If I were to have used this configuration, I would have been generating a lot of drag, and not much lift- requiring a lot of force to keep the aircraft moving, and likely cruising at a moderate alpha angle, rather than near-0 alpha.